Packing hiking boots in a checked bag and packing them in a carry-on are not the same decision. A checked bag exposes your boots to baggage handlers, pressurized cargo holds, and the very real chance your luggage takes a detour to a different city than you do. A carry-on keeps them within arm’s reach, but only if you’re willing to sacrifice the space three shirts would have taken up. Most hikers pick one option out of habit and never think about it again. That habit is usually costing them either boot condition or suitcase space, and often both.
Frequent flyers with boots on trips ranging from weekend trail races to month-long treks have made most of the mistakes this post will help you avoid. What follows is a process you can use every time, broken into steps so you can follow it in order rather than piecing it together from scattered advice.
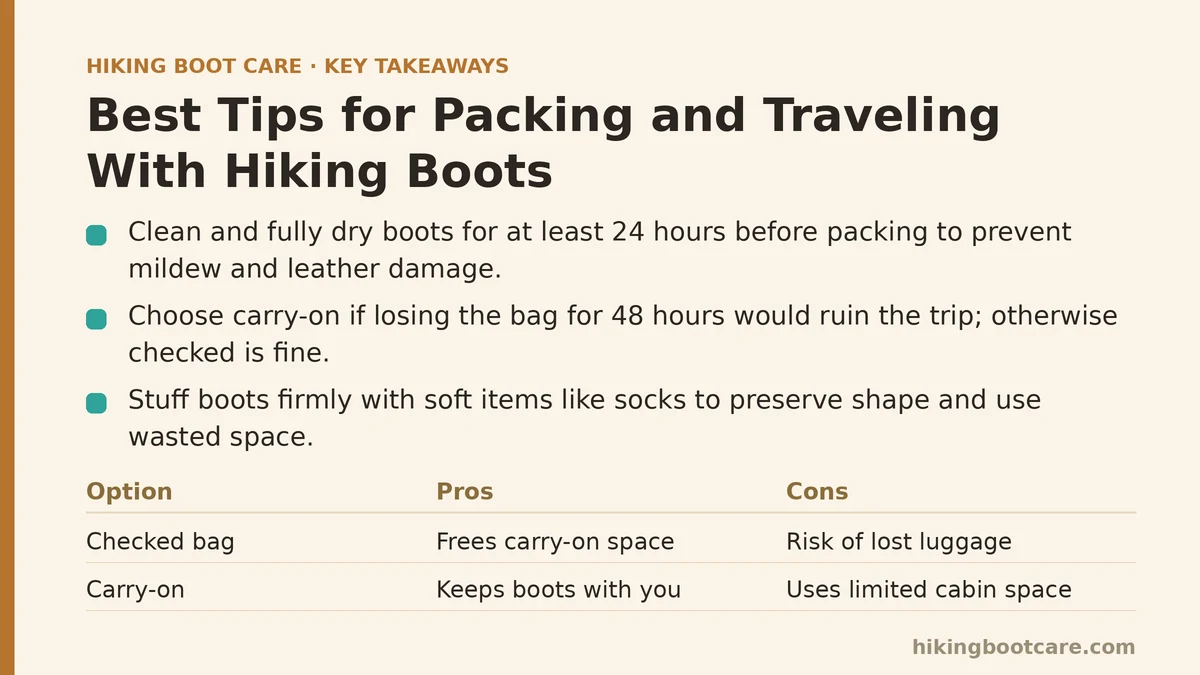
Step 1: Clean and Fully Dry the Boots Before They Go Anywhere Near a Bag
This step gets skipped constantly, and it’s the one most likely to cause damage you won’t notice until you’re already at your destination.
Trapped moisture inside a sealed suitcase does two things. It encourages mildew growth on the interior lining and insole foam, and it degrades leather over time by keeping it in a constant damp-dry cycle. A pair of boots that go into a bag even slightly damp will often come out smelling noticeably worse than when they went in, regardless of how clean they looked.
Knock off loose dirt with a stiff brush, wipe down the exterior, and pull the insoles out to air separately. Boots need at least 24 hours at room temperature to dry fully — not just on the surface, but through the midsole and lining. If you’re packing the night before a flight, this is the step that determines whether your trip starts with clean boots or a mildew smell you’ll be dealing with for weeks.
Step 2: Decide Between Checked Luggage and Carry-On Based on the Trip, Not Habit
Here’s the honest tradeoff. Checked luggage frees up carry-on space for clothing and electronics, but it puts your boots at the mercy of the airline. Lost checked bags happen far more often than most travelers assume, and a lost bag means showing up to a multi-day trek with no boots and no time to buy the right pair.
Carry-on protects against that scenario entirely, but hiking boots are bulky, and airlines are strict about cabin bag dimensions. I make the call based on one question: if this bag disappeared for 48 hours, would the trip be ruined? If the answer is yes — a guided trek, a race, a trip where boots can’t be improvised — I carry them on, even if it means checking a jacket instead. For casual trips where a delay is just an inconvenience, checked luggage is fine.
Step 3: Stuff the Interior to Protect Boot Shape
An empty boot loses its shape faster than most people expect. The upper material can crease and fold under the weight of everything packed around it, and creases in leather boots can turn into permanent cracks over repeated trips.
Stuff each boot firmly with socks, rolled t-shirts, or small items like a phone charger or a bandana. This does double duty: it preserves the internal shape of the boot and uses space you’d otherwise waste on packing cubes. Avoid stuffing with anything damp or anything that could stain the interior lining, like ink pens or leaking toiletries.
Step 4: Use Boot Bags or Wrap Them Individually
Boots touching the rest of your clothing directly is how dirt, dried mud flakes, and rubber residue from the outsole end up on your travel clothes. A dedicated boot bag solves this cleanly. If you don’t own one, a large produce bag, a plastic grocery bag, or even a shower cap stretched over each sole works nearly as well.
Wrapping them individually also protects the boots themselves. Metal eyelets and lace hooks can scratch leather or rip fabric on nearby items if boots are tossed in loose. A thin barrier between the boot and everything else in the bag prevents both problems at once.
Step 5: Position Them at the Bottom of Checked Luggage, Never on Top
If you’ve chosen checked luggage, placement inside the bag matters more than most packers realize. Boots are dense and heavy relative to their size, and if they sit on top of folded clothing, they’ll crush it flat and shift around during handling, potentially damaging softer items underneath.
Place boots at the bottom of the suitcase, against the hard shell or frame, with soles facing outward toward the sides rather than pressed into your clothes. Heavier, sturdier items like a rain jacket or a fleece can go on top of them, with delicate items layered higher up, away from the boots entirely.
Step 6: Protect the Outsole From Grinding Against Other Gear
Rubber outsoles pick up small rocks and debris embedded in the lug pattern, even after cleaning. During transit, that debris can grind against other items in your bag with every bump and turn the bag takes in cargo. Over a long flight, this slowly works grit into fabric items nearby.
Before packing, run a fingernail or a small brush through the lug grooves to clear out anything trapped there. Combined with a boot bag from Step 4, this keeps the outsole from becoming a source of abrasion for everything else in your luggage.
Step 7: Reconsider Waterproofing Timing Around Long Storage in a Bag
If you’re waterproofing your boots before a trip, do it at least three days before departure, not the night before. Fresh DWR treatment needs time to cure fully, and heat-activating it right before sealing the boots into a bag for 10+ hours of transit doesn’t give the treatment time to stabilize.
Boots treated too close to departure sometimes develop an uneven finish, with tacky patches where the treatment hadn’t fully set before being pressed against fabric or plastic during the flight. Treating early avoids this entirely and means your boots are trail-ready the moment you land.
Step 8: Plan for Wear-In Time on Arrival, Not Just Travel Day
A pair of boots that traveled well can still cause blisters if you go straight from airport to trailhead without giving your feet a chance to readjust. Feet swell slightly during long flights, and boots that fit fine at home can feel a half-size tighter the next morning.
Wear the boots around your accommodation or on a short walk the evening you arrive, before committing to a full day’s hike in them. This also gives you a chance to catch any lace, insole, or fit issue that surfaced during transit while you still have time to fix it.
Quick Reference: Packing Method by Trip Type
| Trip Type | Recommended Bag | Boot Placement | Extra Precaution |
|---|---|---|---|
| Weekend casual hike | Checked or carry-on, either works | Bottom of bag, stuffed | Standard cleaning only |
| Multi-day guided trek | Carry-on, always | Stuffed, wrapped individually | Waterproof at least 3 days prior |
| International flight, tight connections | Carry-on if possible | Wrapped, positioned away from electronics | Pack a spare set of laces |
| Trail race with rented/loaner gear | Checked, boots as backup only | Bottom of bag | Confirm boots are fully dry before departure |
A Few Extra Notes Worth Remembering
Wearing your boots on the plane instead of packing them is a legitimate option worth considering for bulky, heavy pairs — it eliminates the packing problem entirely and frees up bag space, at the cost of comfort during a long flight. Some hikers swear by this for international trips where luggage space is limited.
If you’re traveling with more than one pair, resist packing them nested inside each other. It seems space-efficient, but it traps moisture between them and makes it harder for either pair to fully dry if they were slightly damp going in.
Traveling with hiking boots doesn’t require special gear or a large time investment — it requires following the steps in order and not skipping the ones that feel unnecessary, like drying time or outsole cleaning. Do that consistently, and your boots will arrive in the same condition they left in, ready for the trail instead of needing a day of recovery first.
Traveling with a specific boot type or an unusual trip length? Share the details in the comments and you can work out the best packing approach for it.
Related guides: Hiking Boot Care for Finance and Consulting Professionals Who Travel, Best Practices for Storing Hiking Boots in Humid Climates: A Step-by-Step Guide, and The Best Waterproofing Sprays for Hiking Boots: A Field-Tested Ranking.