Tight laces cause blisters. Loose laces cause heel slip and lost toenails. Both feel uncomfortable in different ways, but most hikers treat them as the same problem — “my boots don’t fit right” — and respond by simply pulling harder on the laces.
That response makes things worse. Hiking boot lacing is not a single action you perform once at the trailhead. It is a system of tension zones that changes as the terrain changes, the boot breaks in, and your foot swells over the course of a long day. When you lace incorrectly, you are not just risking discomfort. You are risking a trip-ending injury — a rolled ankle, a subungual hematoma (that’s a bruised toenail), or a deep blister that turns a 15-mile day into a 4-mile hobble.
Below are the five lacing mistakes seen most often on the trail, based on the questions hikers ask most frequently. Each comes with a specific fix you can apply before your next hike.
“Why do my toes go numb about an hour into the hike?”
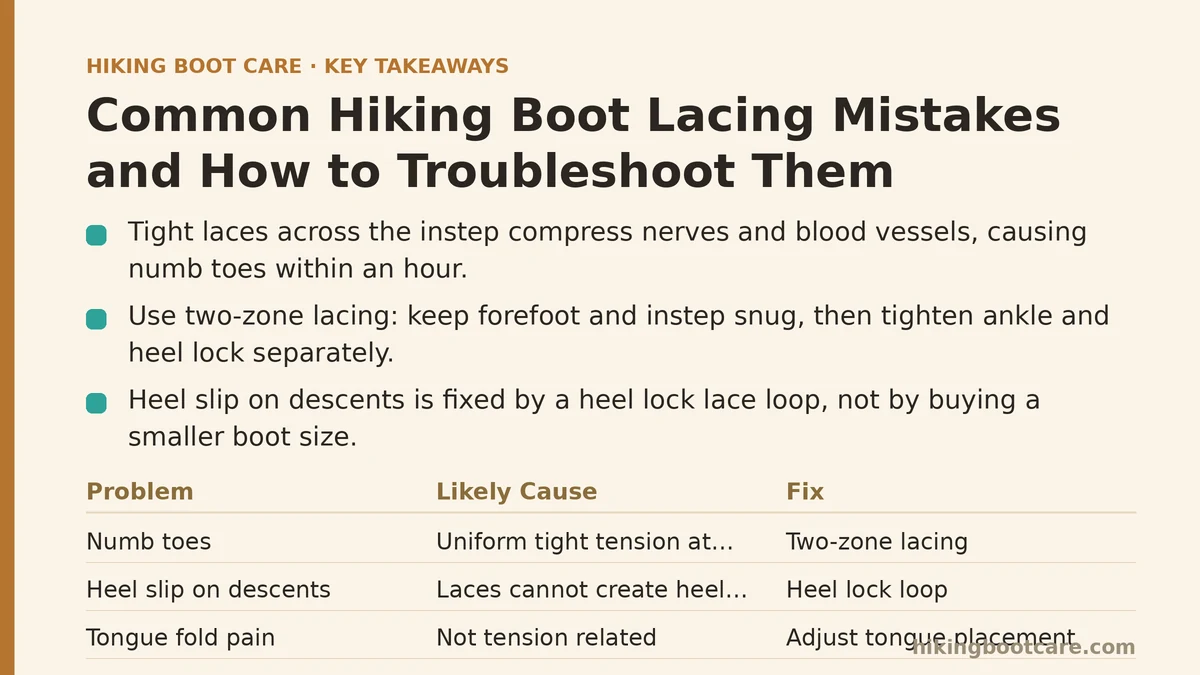
This is the tight-lacing symptom. The nerves and blood vessels running over the top of your foot sit close to the surface. When you cinch the laces down hard across the midfoot — the instep — you compress those structures. Numbness, tingling, or a “pins and needles” sensation are the direct results.
The cause: You are using the same lace tension at the instep as you are at the ankle.
The fix — the “two-zone” lacing technique: Divide your boot into two zones. Zone one is the forefoot and instep (the bottom four to five eyelets). Zone two is the ankle and heel lock (the top two eyelets plus any lace hooks). Pull the lower zone snug — firm enough that your foot does not slide forward, but loose enough that you can slide a finger between the tongue and your instep. Then pull the upper zone tight to secure the heel. This separation lets your foot swell naturally without cutting off circulation.
Test it now: Lace one boot with uniform tension and the other with two-zone tension. Walk up and down stairs for five minutes. The difference in blood flow is immediately noticeable.
“My heel lifts out of the boot on steep descents. Do I need a smaller size?”
Probably not. Heel slip on descents is the second most common complaint I hear, and it is rarely a sizing issue. The problem is that the laces are not holding the heel back against the heel cup of the boot. The boot is the right length — your foot is just sliding forward into the toe box on every downhill step.
The cause: The lacing system does not have enough friction to create a heel lock. A standard criss-cross lace pattern pulls primarily on the midfoot, not the back of the heel.
The fix — the heel lock (also called a “lace loop” or “runner’s loop”): When you reach the top pair of eyelets, do not cross the laces. Instead, bring each lace straight up and pass it through the eyelet on the same side, creating a small loop on each side. Then cross the two free ends, pass each one through the loop on the opposite side, and pull tight. This creates a pulley system that cinches the ankle collar snugly around your heel.
When it does not work: If you still get heel slip after a heel lock, check whether the boot’s heel cup is the right shape for your foot. Some boots have wide heel cups that no lacing pattern can fix. In that case, a different boot model is the solution, not a smaller size.
“The top of my foot hurts where the tongue folds. What am I doing wrong?”
This pain usually has nothing to do with tension, and everything to do with the tongue being displaced or bunched up. Many hikers pull the laces tight before adjusting the tongue properly, which traps it in a folded position. Over several hours, that crease digs into the instep with every step.
The cause: The tongue is not centered under the laces, or it is too thin to distribute pressure evenly.
The fix — proper tongue placement: Before tightening laces at any point during the day, run your hand down the sides of the boot to feel the tongue’s edges. It should sit flat and centered, with equal amounts of flexible material visible on both sides of the lacing field. If the tongue keeps slipping sideways, look for a lace loop or a small fabric tab on the tongue that secures it — many boots have a hidden lace hook at the base of the tongue specifically for this purpose.
If the tongue is the problem: On boots with thin, unpadded tongues, even correct placement can cause pressure points. A “tongue pad” — a small adhesive foam pad placed on the underside of the tongue — adds 2–3mm of cushioning and spreads the lace pressure across a wider area.
“My laces keep coming undone even with a double knot. Is there a better knot?”
A double knot is not a reliable knot for hiking. It is a square knot with an extra pass, and under repeated load cycles — which is exactly what hiking does — it can loosen and slip. The failure point is not the knot itself; it is the fact that the knot is not locking against the top eyelet.
The cause: You are likely tying a standard “bunny ears” or “around the tree” knot, which does not create enough friction when the laces are pulled tight by a heel lock.
The fix — the Ian knot (or “Berluti knot”): This is the fastest secure knot for boots. Hold one lace in each hand, cross them as if starting a reef knot, but instead of pulling through, tuck each free end under the opposite lace to form two loops. Then pull the loops apart and simultaneously push the free ends down toward the boot. The result is a compact, flat knot that sits snugly against the top of the boot. It has only one point of failure — the pull — rather than the two-stage release of a double knot.
If you still have slipping: Switch to laces with a flatter, braided profile. Round nylon laces are slippery and hold knots poorly. Flat braided polyester laces (sold at most outdoor retailers for $8–$12) offer measurably more friction.
“Should I loosen my laces when crossing streams or on flat sections?”
It depends on what you mean by “loosen.” The mistake is not changing the lacing at all, leaving the boot rigidly locked for four hours of flat trail. When your foot swells after 3–4 miles — and it will swell, by 5–8% of its volume on a warm day — the fixed tension of the instep zone becomes progressively tighter.
The cause: Treating lacing as a set-it-and-forget-it task.
The fix — the “stream crossing” and “long flat” adjustments: For a water crossing where you will take your boots off anyway, do not untie the boots completely every time. Loosen only the lower zone (forefoot), slip the boot off, cross, and put it back on. This saves you 10–15 minutes of re-lacing time per crossing. For long flat sections, loosen the instep zone by one full lace width every 5–8 miles. This gives your foot room to expand without letting the heel lose its lock.
What not to do: Do not loosen the ankle zone while walking. That is when you lose ankle support, and the resulting sloppiness causes micro-movements that create hot spots and eventually blisters. Keep the heel lock tight for the entire hike.
Lacing Troubleshooting Quick Reference
| Symptom | Likely Cause | Fix | Time to Apply |
|---|---|---|---|
| Toe numbness, tingling | Over-tightened instep zone | Two-zone lacing (loose forefoot, snug upper) | Start of hike |
| Heel slip on descents | No heel lock | Use a runner’s loop / heel lock at top eyelets | Start of hike |
| Pain at tongue fold | Tongue displaced or thin | Center tongue, use tongue pad if needed | Every stop |
| Laces coming undone | Wrong knot + slippery laces | Ian knot; switch to flat braided laces | Immediately |
| General foot swelling | Same tension all day | Loosen instep by one lace width every 5–8 miles | Every 1–2 hours |
Your Next Step: The 5-Minute Pre-Hike Lacing Audit
Before your next hike, spend five minutes in your living room doing this:
- Re-lace both boots from scratch using the two-zone method.
- Tie a heel lock at the top eyelets.
- Use an Ian knot for the bow.
- Walk up and down stairs for two minutes. If you feel any pressure points or slipping, adjust the instep tension before you leave the house.
That audit is faster than dealing with a single blister on the trail, and it prevents the most common foot injuries I see in the backcountry. Your boots should work with your feet — not against them. Lacing is the interface between the two. Get it right once, and you will not think about it for the rest of the season.
Tried one of these fixes and still having trouble? Tell me which boot model you are wearing and where exactly the pain or slip occurs — that specific detail tells me a lot about what is going on, and I can give you a more targeted suggestion in the comments.
Related guides: Hiking Boot Care Mistakes That Cause Premature Failure (And How to Fix Them), How to Fix Hiking Boot Heel Slip and Blister Causes: A Troubleshooting Guide, and 7 Common Mistakes When Waterproofing Hiking Boots and How to Avoid Them.