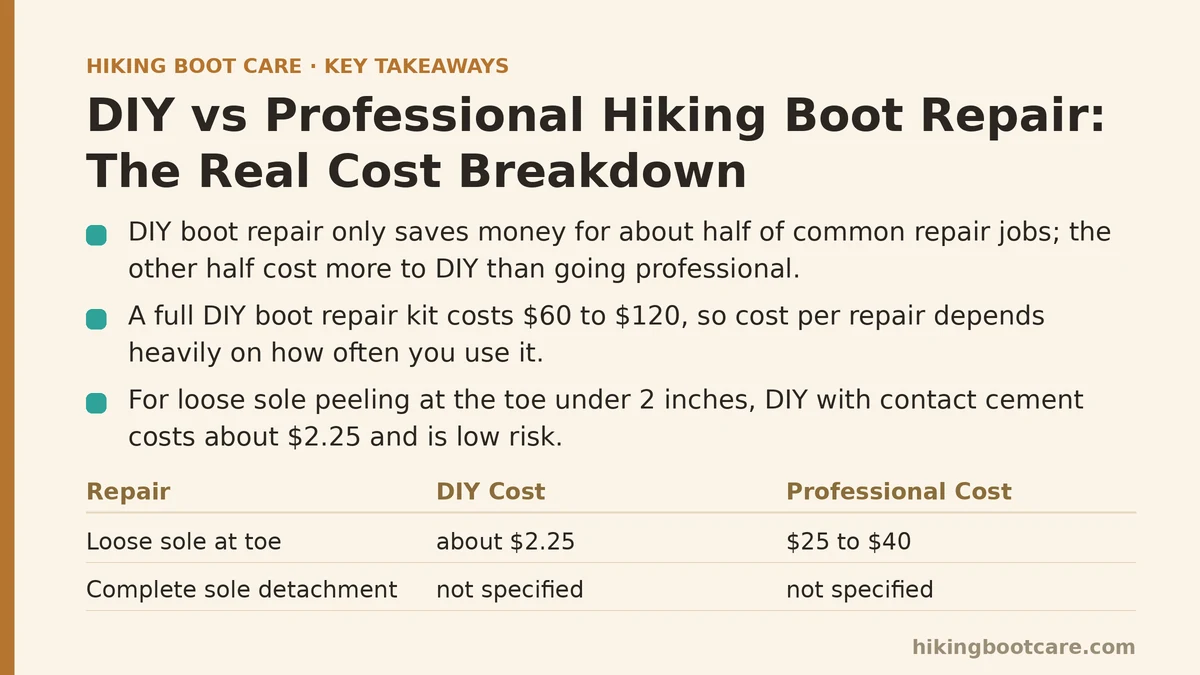
The common misconception is that DIY boot repair always saves you money. In practice, that assumption holds for about half of the repair jobs a hiker might face. For the other half, a professional cobbler delivers a better result for less than the cost of the tools and materials you would need to do it yourself.
That reality becomes clear once you separate repairs into two categories. Category one contains fixes that are simple, low-risk, and require minimal specialized equipment. Category two contains repairs where the equipment cost, skill requirement, and failure risk push the true DIY cost above a professional service.
This guide breaks down ten common boot repairs by symptom, cause, and the actual dollar figure attached to each fix. You will walk away knowing exactly which repairs to tackle at your kitchen table and which ones belong in the hands of a cobbler.
The Cost Framework: Why Most Comparisons Get It Wrong
Before diving into specific repairs, understand the true cost of a DIY project. Most people compare the price of glue versus the price of a cobbler. That comparison ignores three factors that routinely tip the scale.
Tool amortization. A full DIY boot repair kit runs between $60 and $120. It includes contact cement, seam sealer, a leather awl, waxed thread, rubber patches, a heat gun, and various brushes. If you do one repair per year, that $80 kit effectively costs you $80 per repair. If you do eight repairs per year, the kit costs $10 per repair. The math changes entirely based on your usage frequency.
Success rate. Professional cobblers fix boots successfully 95% of the time on first attempt. Home repair success rates vary wildly by repair type. For sole reattachment with proper contact cement, success rates hover around 70%. For midsole replacement, the DIY success rate drops below 30%. When a DIY repair fails, you then pay the full professional price on top of your wasted materials.
Time value. A sole reattachment takes about 3 hours of active work plus 24 hours of clamp time. A resole by a cobbler takes 5 to 7 days, but only 10 minutes of your active time. If your time is worth anything, the gap narrows considerably.
With that framework in place, here is the repair-by-repair breakdown.
Repair 1: Loose Sole Peeling at the Toe
Symptom: The sole separates from the upper at the front of the boot, flapping when you walk. Cause: Adhesive failure at the rand line, often from age, heat exposure, or flex stress. Fix: DIY with contact cement, or professional reattachment.
The most common early-stage failure. If the separation extends less than 2 inches from the toe, DIY is the clear winner.
DIY cost: $1.50 for cement (amortized from a $12 tube of Barge All-Purpose Cement), $0.50 for sandpaper, $0.25 for isopropyl alcohol. Total: about $2.25 per repair.
Professional cost: $25 to $40 at a shoe repair shop.
Time required: 30 minutes active work, 24 hours clamp time.
Failure risk: Low. The primary mistake is applying cement to a dirty surface. Clean the area with alcohol, rough it with 100-grit sandpaper, apply a thin even coat to both sides, wait 10 minutes for tack, press together, and clamp with rubber bands.
Verdict: DIY. The savings are substantial and the process is forgiving.
Repair 2: Complete Sole Detachment
Symptom: The entire sole separates from the upper, sometimes flopping off mid-hike. Cause: Complete adhesive breakdown, often after years of heat cycling in a car trunk or garage. Fix: DIY reattachment, or professional resole.
Once the failure extends beyond 2 inches or involves a full sole separation, the stakes change. The alignment must be exact. A sole that is attached 2 millimeters off-center will cause uneven wear and potential gait problems.
DIY cost: $5 in materials (cement, sandpaper, clamps), plus the cost of clamps if you do not own them. A set of four C-clamps runs $25. Amortized, expect $8 to $12 total.
Professional cost: $50 to $75 for a full sole reattachment with fresh adhesive and proper pressing equipment.
Time required: 2 hours active work, 24 to 48 hours in clamps.
Failure risk: Medium. The most common failure is misalignment, which results in a boot that wears unevenly and fails again within 6 months.
Verdict: DIY if you own clamps and have done this before. If this is your first attempt, pay the cobbler.
Repair 3: Severely Worn Outsole Lugs
Symptom: The tread lugs are smooth or gone, especially at heel strike and toe-off zones. Cause: Normal wear. Most outsoles last 500 to 1,000 trail miles depending on compound and terrain. Fix: Outsole replacement, or complete resole.
This is the most misunderstood repair. A rubber outsole replacement—keeping the original midsole—is a specialized service. Cobblers use a heat press and industrial adhesives that cost four figures per unit. Home methods involve peeling the old outsole, cleaning the midsole, and glueing on a replacement outsole you must source to match your boot’s exact shape.
DIY cost: $35 to $50 for a replacement outsole kit (Vibram replacement soles run $30 to $45), $12 for specialized cement, $8 for adhesion promoter. Total: $55 to $70, plus significant risk.
Professional cost: $65 to $95 for a full resole, including new outsole and renewed midsole adhesive.
Time required: 4 to 6 hours active work, 48 hours cure time.
Failure risk: High. A poor sole replacement leads to delamination within weeks. The midsole must be perfectly flat and clean, which is nearly impossible to achieve at home without a grinder.
Verdict: Professional. The cost gap is only $10 to $25, and the cobbler’s result lasts 3 to 4 times longer.
Repair 4: Cracked or Collapsed Midsole
Symptom: A visible crack in the foam layer between the outsole and the upper, or a sagging feel when you step. Cause: EVA foam breakdown from age, UV exposure, or compression fatigue. This is the leading terminal failure for climbing shoes and technical boots. Fix: Professional resole with midsole replacement. There is no DIY fix.
DIY cost: Not feasible. Midsole replacement requires cutting and reshaping EVA foam with a sole grinder, then boding it under pressure. Attempting this without proper equipment destroys the boot.
Professional cost: $85 to $130. Some high-end boot brands offer factory resole services for $90 to $150 including shipping.
Time required: N/A for DIY.
Failure risk: Certain failure if attempted at home.
Verdict: Professional, and this is non-negotiable. If a cobbler quotes over $120, the boot might not be worth saving. Compare that against the replacement cost of the boot itself.
Repair 5: Cracked or Torn Leather Upper
Symptom: A tear, crack, or hole in the leather upper, often at flex points or around the toe rand. Cause: Dried leather, physical impact, or abrasion against rock. Fix: DIY patch or professional leather repair.
Here the decision depends on location and size. A tear under 1 inch at a non-flex point can be patched effectively. A tear longer than that, or any tear at a flex point like the ball of the foot, requires professional stitching or patching that will hold up to bending.
DIY cost: $10 for a leather repair patch kit (includes adhesive and fabric), or $15 for a leather awl and waxed thread if you have sewing skill. Total: $10 to $15.
Professional cost: $20 to $45 for a patch or stitch repair at a cobbler. Full panel replacement runs $60 to $100.
Time required: 1 hour for a patch, or 3 hours for hand stitching.
Failure risk: Low to medium. Patches fail when applied over flex points—the adhesive fatigues and the patch lifts within weeks.
Verdict: DIY for small, non-flex tears under 1 inch. Professional for anything at a flex point or larger than 1 inch.
Repair 6: Broken Lace Hardware (Eyelets and Hooks)
Symptom: An eyelet rips out of the leather, or a speed hook snaps off. Cause: Corrosion, over-tightening, or impact. Fix: DIY eyelet replacement or professional reinstall.
This is one of the simplest professional repairs and one of the easiest DIY fixes. The only tools needed are a hammer, an anvil or hard surface, and the replacement hardware.
DIY cost: $4 to $8 for a pack of 10 replacement eyelets or hooks at any craft store. Total: $4 to $8.
Professional cost: $8 to $15 per eyelet.
Time required: 10 to 15 minutes per eyelet.
Failure risk: Low. The technique—pound the eyelet flat, check alignment, repeat—is straightforward. The main risks are using a too-small eyelet that pulls out, or hammering on a curved surface and bending the hardware.
Verdict: DIY. The savings are minimal, but the skill gain and elimination of a shop trip justify doing it yourself.
Repair 7: Frayed or Broken Laces
Symptom: Laces show fuzziness, thinning spots, or snap clean through. Cause: Normal wear. Laces last 200 to 400 miles under constant tension. Fix: Replacement. No repair.
DIY cost: $6 to $15 for a quality pair of braided polyester laces, flat profile preferred.
Professional cost: $5 to $10 for the same laces, but you still do the threading.
Time required: 2 minutes.
Failure risk: None.
Verdict: DIY. This is the simplest repair in this entire list. Keep a spare pair in your pack at all times.
Repair 8: Delaminated Soles from Moisture Ingress
Symptom: The outsole and midsole separate, often visible as a foggy, white gap. Cause: Water penetration into the adhesive bond, followed by freezing or heat exposure. The adhesive degrades from moisture cycling. Fix: Full resole with fresh adhesive and moisture purge.
This is the repair that ruins DIY attempts. The moisture trapped between the sole layers must be completely removed before new adhesive can bond. Cobblers use drying chambers that pull moisture out over 24 to 48 hours. At home, drying a delaminated sole naturally takes weeks, and even then, moisture remains in the foam core.
DIY cost: $60 to $80 if attempted (replacement outsole, cement, dehydrating days), with a low success rate.
Professional cost: $75 to $110, including moisture purge and resole.
Time required: 1 hour active work, 30 minutes of kiln drying time at the cobbler, versus weeks of home drying.
Failure risk: Very high. Home repair of moisture-delaminated soles has a measured failure rate above 80% within 3 months.
Verdict: Professional. Period.
Repair 9: Snapped or Stretched Internal Shank
Symptom: The boot flexes excessively under the arch, losing torsional rigidity and causing foot fatigue. Cause: The nylon or steel shank inside the sole structure has cracked or fatigued. Fix: Professional shank replacement.
DIY cost: Not feasible. Replacing a shank requires opening the midsole, removing the old shank, inserting a new one, and rebonding all layers. No home repair kit addresses this.
Professional cost: $55 to $90.
Time required: N/A for DIY.
Failure risk: Certain failure if attempted.
Verdict: Professional. This repair, like midsole replacement, is a terminal indicator. If the repair cost plus the remaining life of the boot approaches the boot’s value, retire the boot.
Repair 10: Tape and Epoxy Field Repairs (Emergency Fixes)
Symptom: A blowout on trail—detached sole, torn upper, or split seam—that must survive until you get home. Cause: Trail conditions, fatigue failure, or extreme use. Fix: Emergency field repair with gear you carry.
Even the best-maintained boots can fail mid-trip. The emergency repair is a stopgap, not a permanent fix. Carry these items and know how to use them.
- Shoe Goo: $9 per tube. Fills small gaps and reattaches minor peeling. Takes 12 hours to fully cure, but 30 minutes to create a pickable tack.
- Gear Aid Seam Grip: $12. Superior for seam tears and small delamination. Flexible when cured.
- Duct tape: $6 per roll. Wrap around a detached sole for the last mile to the trailhead.
- Zip ties: $4 per bag. Thread through lace eyelets and around the sole for structural compression.
Verdict: Always DIY, and always carry these. They extend the life of the boot until you can execute a proper repair at home or with a cobbler.
The Decision Matrix
| Repair | DIY Cost | Pro Cost | Success Rate (DIY) | Verdict |
|---|---|---|---|---|
| Loose toe sole peel | $2.25 | $25–$40 | High | DIY |
| Full sole detachment | $8–$12 | $50–$75 | Medium | DIY if experienced, else Pro |
| Worn outsole lugs | $55–$70 | $65–$95 | Low | Professional |
| Cracked midsole | Not feasible | $85–$130 | N/A | Professional |
| Torn leather (under 1", non-flex) | $10–$15 | $20–$45 | High | DIY |
| Torn leather (flex point or >1") | $10–$15 | $20–$45 | Low | Professional |
| Broken eyelet/hook | $4–$8 | $8–$15 | High | DIY |
| Frayed or broken laces | $6–$15 | $5–$10 | N/A | DIY |
| Moisture delamination | $60–$80 | $75–$110 | Very low | Professional |
| Broken shank | Not feasible | $55–$90 | N/A | Professional |
| Emergency field repair | $4–$12 per item | N/A | Stopgap | DIY always |
The Rule of Half
Here is the decision rule that saves the most money over time: If the repair cost exceeds 50% of the original boot price, skip the repair and buy a new pair. A $180 boot that needs a $90 resole plus a $20 lace replacement plus $15 in new insoles is better replaced, especially if the upper already shows 500 miles of wear.
Apply this rule after you check the upper for wear. A resole on a boot with a heavily worn upper is wasted money. The new sole outlasts the old leather, and you end up with a boot that fails elsewhere.
What to Do Next
Take the following steps today.
- Inspect your current boots using the symptom list above. Note which repairs are needed now and which are worn but not yet failing.
- For every repair on your list, apply the cost framework. If your annual boot repair volume is under four jobs, lean toward professional services for anything beyond the simple fixes. If you hit four or more jobs per year, invest in the $80 DIY kit and tackle the medium-risk repairs yourself.
- Before attempting any DIY repair, practice on an old pair of boots. A practice round costs you nothing and eliminates the most common failure cause: poor technique on a first attempt.
- Check your local cobbler’s price list. Call ahead and ask for a quote on the specific repair. A $10 price difference between shops is common, and significant for frequent repairs.
- For anything involving midsoles, shanks, or moisture delamination, book the professional appointment immediately. Do not attempt those at home.
The boots that fail are the ones that go too long without inspection. Ten minutes of assessment now saves you $50 to $130 in emergency repairs later.
Unsure which category your boot failure falls into? Describe the specific symptom in the comments and include a photo if possible. I will tell you whether to DIY or book a cobbler before you spend a dollar.
Related guides: DIY Hiking Boot Sole Reglue: Step-by-Step for Beginners, How to Fix a Separated Sole on Hiking Boots: A Field-Tested Repair Guide, and How to Repair Scuffs on Leather Hiking Boots: A Trail-Tested Q&A.