Wiping mud off your boots at camp is not the same as maintaining them. One takes thirty seconds and makes your tent floor cleaner. The other is the difference between finishing a 2,000-mile trail in the same pair of boots and mailing yourself a replacement pair from a gas station in week three.
Most hikers learn boot care one weekend trip at a time. Thru-hikers don’t get that luxury. A boot care mistake on a two-day section hike means damp socks. The same mistake on a five-month trail means a stress fracture, a blown-out sole at mile 900, or a resupply box that never catches up to you. The gap between casual hiking boot care and thru-hiker boot care is wide, and most of the advice floating around blurs the two together.
Below are the myths that cause the most damage on long trails, paired with what actually holds up over hundreds of miles.
Myth: One Waterproofing Treatment Covers the Whole Trip
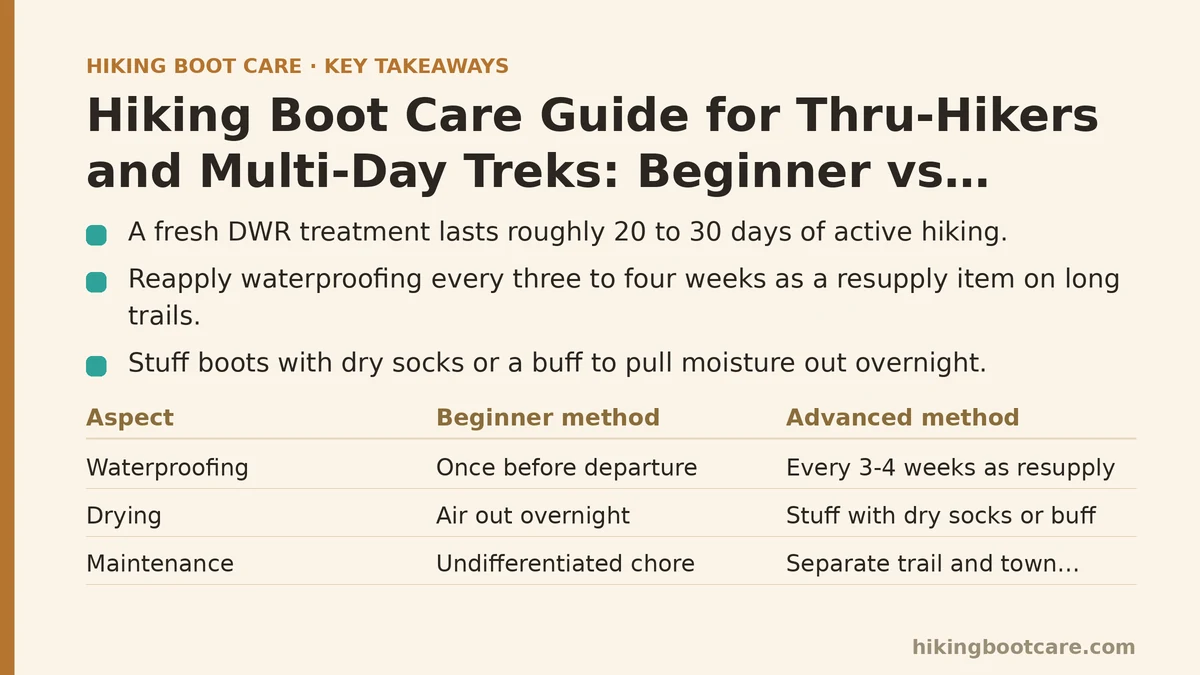
This is the belief that gets the most thru-hikers into trouble in their first two weeks. A fresh DWR (Durable Water Repellent) treatment lasts roughly 20 to 30 days of active hiking under normal conditions. On a thru-hike, “normal conditions” means daily UV exposure, constant abrasion from brush and rock, and repeated wetting and drying cycles — all of which strip the coating faster than a weekend hiker will ever experience.
Beginner method: Waterproof the boots once before departure and assume the job is done for the season.
Advanced method: Treat waterproofing as a resupply item, not a one-time task. Experienced thru-hikers carry a small travel-size bottle of Nikwax TX.Direct or Nikwax Fabric & Leather Proof in a resupply box scheduled for roughly every three to four weeks, depending on rainfall and terrain. Reapplication happens on a zero day, after a full clean and a complete dry-out, never on wet boots at camp.
Myth: Airing Your Boots Out Overnight Counts as Drying Them
Leaving boots open by the tent door overnight feels productive. It is not the same as drying them. Boot interiors hold moisture in the midsole foam and the lining long after the outer surface feels dry to the touch, and hiking in a boot that is damp on the inside accelerates blister formation, sole delamination, and mildew growth in the lining.
Beginner method: Loosen the laces, open the tongue, and let the boots sit overnight before hiking again the next morning.
Advanced method: Stuff the boots with dry socks, a buff, or a spare shirt to actively pull moisture out through absorption rather than passive air exposure. On multi-day sections without a fire or shelter, some thru-hikers carry a small packet of silica gel or rice in a mesh bag specifically for this purpose. In town, boots go straight into a dryer on low heat or get set near — not on top of — a heat source, since direct heat on wet leather causes cracking.
Myth: Trail Maintenance and Town Maintenance Are the Same Task, Just at Different Times
Beginners tend to treat all boot care as one undifferentiated chore. Thru-hikers separate it into two distinct categories with different goals.
Trail-side maintenance happens daily and takes under five minutes: knocking debris out of the tread, checking laces for fraying, and inspecting the rand line for any new separation. This is diagnostic, not corrective. You are looking for problems before they become failures, not fixing anything major.
Town-day maintenance happens every resupply stop and takes 30 to 45 minutes: a real clean with boot-specific cleaner, a full dry-out, a waterproofing check using the bead test, and — critically — a hard look at insole compression and outsole wear. Skipping town-day maintenance because “the boots seem fine” is how a small rand separation on day 40 becomes a full sole detachment on day 55.
Myth: Duct Tape Is a Real Fix
Duct tape buys you miles, not days. It is a legitimate emergency measure for a partially detached sole or a torn lace, and every thru-hiker should carry some wrapped around a trekking pole or water bottle. But it is not a repair, and treating it as one is how minor damage turns catastrophic.
Beginner method: Wrap the affected area in duct tape and continue hiking until the boots fully fail.
Advanced method: Carry a small repair kit built for the trail — a tube of Gear Aid Seam Grip or Freesole, a few safety pins, and a spare set of laces. At the first sign of sole separation, apply adhesive at the next dry camp rather than waiting for town, since moisture prevents proper curing. Duct tape holds the boot together long enough to reach that camp; it is not meant to hold for the remaining 200 miles of the section.
Myth: New Insoles Only Matter When You Buy New Boots
Stock insoles are foam placeholders, and on a long trail they compress far faster than most hikers expect. A pair that felt supportive on day one can be functionally dead by day 30, long before the boot’s upper or outsole shows comparable wear. Hiking on compressed insoles is one of the most common — and least discussed — causes of foot fatigue, arch pain, and shin splints on thru-hikes.
Beginner method: Replace insoles only when the boots themselves wear out or when foot pain becomes severe enough to investigate.
Advanced method: Test insole spring-back at every town stop by pressing a thumb into the heel and forefoot. Many long-distance hikers preemptively mail themselves a fresh pair of aftermarket insoles — Superfeet and SOLE are common choices — around the 400 to 500 mile mark, before compression becomes noticeable underfoot. This is cheaper and far less disruptive than dealing with a foot injury mid-trail.
Myth: Lacing Technique Doesn’t Change Once the Boots Fit
A lacing pattern that works fine on flat terrain can cause real problems on sustained descents, where the foot slides forward inside the boot with every step, jamming toes against the front of the boot for hours at a time. Beginners tend to lace the same way for every mile of a trip.
Beginner method: Lace boots the same way for the entire hike regardless of terrain.
Advanced method: Switch to a heel-lock lacing technique — using the top hooks to create a locked loop that anchors the heel — before long descents, then loosen back to standard lacing on flat or uphill sections. This single adjustment prevents most of the black toenails and toe-box blisters that show up on hikers doing serious elevation loss without changing how they tie their boots.
Beginner vs Advanced Methods, Side by Side
| Task | Beginner Method | Advanced (Thru-Hiker) Method |
|---|---|---|
| Waterproofing | Treat once before the trip | Reapply every 3-4 weeks as part of resupply routine |
| Drying | Air out overnight | Actively absorb moisture with dry fabric or silica packets |
| Cleaning | Wipe down when convenient | Separate daily trail checks from full town-day cleaning |
| Repairs | Duct tape as a permanent fix | Duct tape as a bridge to proper adhesive repair |
| Insoles | Replace only when boots wear out | Replace on a mileage schedule, before compression sets in |
| Lacing | One pattern for the whole trip | Heel-lock lacing for descents, standard lacing otherwise |
A Simple Zero-Day Routine Worth Adopting
If you take one thing from this comparison, make it this: build a short routine you actually run every zero day, rather than relying on memory or how the boots feel.
- Pull the insoles and check for compression with a thumb press.
- Clean the exterior with a pH-neutral cleaner and soft brush.
- Run the bead test — water should roll off, not soak in.
- Check the rand line and stitching under strong light.
- Re-treat with DWR if the bead test failed, then dry fully before packing.
None of this takes more than 40 minutes, and it is far less time than dealing with a boot failure 15 miles from the next town.
What does your current zero-day boot routine look like — and has it ever caught a problem before it became a trailside emergency? I’d like to hear what’s worked for other long-distance hikers. Related guides: Suede Hiking Boot Care Guide: The Questions Every Owner Should Ask, A Beginner’s Step-by-Step Guide to Conditioning Leather Hiking Boots, and Common Hiking Boot Care Mistakes to Avoid (According to What Actually Fails).