Boot care is the ongoing maintenance of cleaning, drying, conditioning, and inspecting hiking footwear so that the materials retain their structural integrity and water resistance over time. It is not a single task performed once after purchase. It is a recurring cycle, and skipping steps in that cycle is the single biggest reason new hikers replace boots far sooner than necessary.
If you just bought your first real pair of hiking boots, you do not need to learn twenty different techniques right away. You need to know which five habits produce the most benefit for the least effort. Below is a ranked list based on how much damage each habit prevents and how often it comes up in practice.
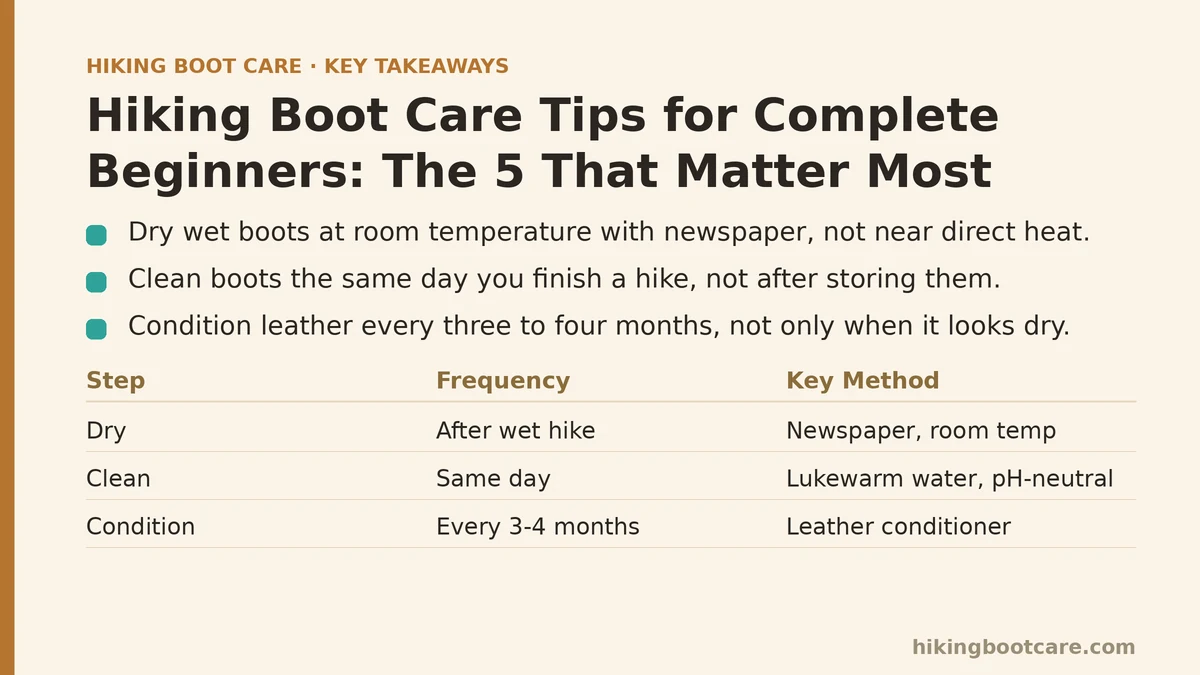
1. Dry Them Correctly After Every Wet Hike
This ranks first because improper drying causes more long-term damage than almost anything else a beginner does, and it happens fast — often within a single overnight session.
Wet boots left near a campfire, a radiator, or a heating vent seem like a quick fix. In practice, direct high heat breaks down the adhesives that hold the sole to the upper and dries out leather until it stiffens and cracks. A pair of otherwise healthy boots can delaminate at the toe after a single night propped against a wood stove.
The correct method is slower but far safer:
- Remove the insoles and laces immediately after the hike.
- Stuff the boots loosely with newspaper or a dedicated boot dryer insert.
- Replace the paper every two to three hours as it absorbs moisture.
- Leave the boots at room temperature, away from direct heat sources, until fully dry — this usually takes 24 to 48 hours.
Skipping this step is the fastest route to a cracked midsole or a peeling rand within a single season.
2. Clean Them Before Storing, Not After
Mud, salt residue, and trail dirt left on a boot for weeks do measurable damage. Dried mud pulls moisture out of leather as it hardens, and trail salt (common on winter or coastal routes) is mildly corrosive to both leather fibers and metal eyelets.
A proper cleaning takes under ten minutes:
- Remove laces and insoles.
- Rinse with lukewarm water — no hotter than 30°C.
- Scrub with a soft brush and a pH-neutral cleaner, focusing on seams and the rand line.
- Rinse until the water runs clear.
The habit that matters here is timing. Clean the boots the same day you finish a hike, not the week after when you finally get around to unpacking your bag. Dirt that sits against leather or fabric for days is measurably harder to remove and does more cumulative damage than dirt cleaned off immediately.
3. Condition Leather Before It Looks Dry
Ranked third because it prevents damage rather than reacting to it — and beginners consistently wait too long to start.
New leather boots often ship with a factory finish that looks glossy and healthy for months. That appearance is deceptive. The natural oils that keep leather flexible get depleted through repeated wet-dry cycles on the trail, well before any visible paleness shows up.
Apply a dedicated leather conditioner every three to four months during regular use, not only when the leather visibly looks pale or chalky. Work a small amount in with your fingers or a soft cloth, let it absorb for about an hour, then wipe off the excess. Nubuck and suede boots are the exception — use a conditioning spray made for those textures instead, since wax-based conditioners will darken and mat the nap permanently.
Waiting until leather looks dry means you are already conditioning damaged material instead of preventing the damage in the first place.
4. Reapply Waterproofing on a Schedule, Not by Feel
Most beginners wait until their feet get wet to think about waterproofing. By then, the DWR (Durable Water Repellent) coating has already failed, and the fabric or leather has started absorbing water directly — a condition known as wetting out.
DWR coatings degrade steadily through UV exposure, abrasion, and washing. On a boot used once or twice a week, expect noticeable breakdown within three to four months of regular wear. Test it with a simple bead test: run water over the boot’s surface. If it beads and rolls off, the coating is intact. If it spreads and darkens the material, it is time to reapply.
The product matters less than the schedule. Whether you use a spray-on treatment for synthetic boots or a wax-based product for full-grain leather, applying it proactively — before a big trip rather than after a soaked hike — is what actually keeps feet dry.
5. Store Them Away From Extreme Temperatures
This ranks last only because its effects are slower to appear, not because it is unimportant. Storage conditions determine whether a boot degrades quietly over a winter or holds up for years.
A hot car trunk, an unheated garage, or a damp basement all accelerate different kinds of damage. Heat dries out adhesives and leather. Cold, damp environments encourage mildew and weaken stitching over time. The ideal storage spot is a closet at a stable room temperature, with boots kept upright, laces loosened, and a cedar shoe tree or rolled towel inside to help them hold their shape.
Boots pulled out of poor storage often look fine on the outside while hiding a compromised sole bond underneath — the kind of failure that only becomes obvious three miles into the first hike of the season.
How the Five Compare
| Rank | Habit | Frequency Needed | Consequence of Skipping |
|---|---|---|---|
| 1 | Proper drying | After every wet hike | Delamination, cracked midsole |
| 2 | Cleaning before storage | After every muddy or salty trip | Corroded eyelets, hardened leather |
| 3 | Conditioning leather | Every 3-4 months | Premature cracking, stiffness |
| 4 | Reapplying waterproofing | Every 3-4 months or by bead test | Wetting out, soaked feet on trail |
| 5 | Correct storage | Ongoing (between trips) | Mildew, weakened adhesive bonds |
Where to Start This Week
If you only adopt one habit from this list right now, make it drying technique. It is the fastest to get wrong, the easiest to fix, and the one most beginners never think about until a boot already shows damage. Once that habit is automatic, layer in cleaning, then conditioning, then a waterproofing schedule.
None of these five tasks require special skill. They require consistency, and consistency is what separates a pair of boots that lasts two seasons from one that lasts eight.
Not sure which of these applies to your specific boot material? Describe what you’re seeing in the comments and you’ll be pointed toward the right fix.
Related guides: Hiking Boot Care for Winter Mountaineering and Snow Conditions: The 5 Fixes That Actually Matter, Hiking Boot Care Mistakes That Cause Premature Failure (And How to Fix Them), and Common Hiking Boot Care Mistakes to Avoid (According to What Actually Fails).