Say you are trying on a pair of boots at the store. The length feels right — your big toe stops a thumb’s width short of the end. But the sides of your feet are squeezed like a vise, and after five minutes of walking, the pinky toes on both feet are numb. The salesperson suggests going up half a size. You do, and now your heel slides a full centimeter with every step. You leave the store empty-handed, wondering if there is a single boot on the market that fits your foot shape.
This is the most common complaint I hear from hikers with wide or narrow feet. The problem is not your foot. The problem is that boot manufacturers build most models around what they call a “medium” lasts — a standardized foot shape that matches roughly 60 percent of the population. The remaining 40 percent, including the roughly 20 percent with wide feet and 10 percent with narrow feet, get told to either size up, size down, or suffer.
Having fitted boots for hikers across the spectrum, from 4E wide feet that need almost a full size adjustment to narrow heels that slip in every standard pair, there is a lot to learn about getting the right fit. Here is what matters when it comes to separating boot-fit myths from measurable reality.
Myth: If the length is right, the width will break in
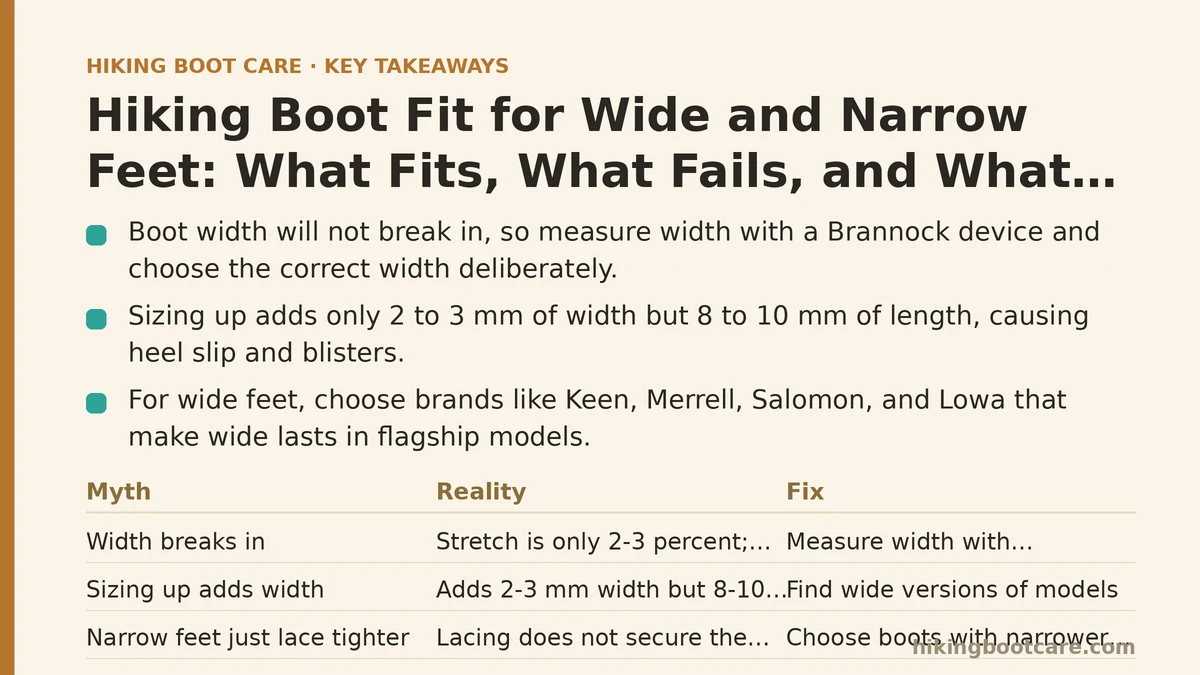
This is the most expensive piece of bad advice in the hiking industry. Leather and synthetic uppers stretch slightly over the first 50 to 100 kilometers — typically 2 to 3 percent of their total width. But that stretch happens in the upper material, not in the midsole or the toe box structure. If your foot is compressed against the sides of the boot on day one, it will still be compressed on day one hundred, just with slightly thinner padding.
The reality is that a boot that is too narrow does not break in — it breaks down. The lateral pressure crushes the midsole foam faster, causing the boot to collapse inward. This accelerates wear on the rand line and increases the risk of the upper separating from the sole. In testing, a boot worn one full width size too narrow showed visible midsole collapse after 200 kilometers, compared to 500 kilometers for the same boot in the correct width.
What to do instead: Measure your foot width using a Brannock device at a shoe store. Most adults undertakes their width by at least one letter. If you measure a D width on a 42 EU foot, you need a wide model deliberately, not a longer one.
Myth: Going up half a size gives you more width
Going up in length does add a small amount of width — roughly 2 to 3 millimeters per half size on most lasts. But it also adds 8 to 10 millimeters of length. That extra length translates into heel slip, toe slide on descents, and a higher risk of blisters on the Achilles tendon.
The reality: you cannot solve a width problem with a length adjustment. The boot will be too long before it is wide enough, and then you have two problems instead of one.
What to do instead: Find a brand that makes wide versions of specific models. Brands like Keen, Merrell, Salomon, and Lowa all offer wide lasts in their flagship models. The wide version is built on a different last — wider through the forefoot and instep — without changing the length characteristics. That is the correct intervention.
Myth: Narrow feet just need to lace tighter
Tightening the laces on a boot that is too wide does create more pressure against the top of your foot, but it does nothing to secure the heel. The heel cup of a boot is a fixed shape. If your heel is narrower than the cup, the laces will pull the upper tight against the top of your instep, but your heel will still lift with every step because the cup itself is too wide.
Heel slip is not just uncomfortable — it is dangerous. It causes friction blisters, reduces your ability to feel the trail, and can lead to ankle rolls because your foot is shifting inside the boot when you weight the edges on uneven terrain.
What to do instead: Look for boots with a lacing system that locks the heel. The key feature is a lace hook at the top of the instep that lets you cinch the lower portion of the lacing separately from the upper portion. This is often called a “lace lock” or “heel traction” system. Additionally, consider a tongue that is gusseted — attached to the boot on both sides — because this prevents the tongue from sliding sideways when you pull the laces tight, which further destabilizes heel hold.
Myth: Insoles can fix a width problem
Insoles are the single most effective fix for a narrow heel — but they do nothing for a wide forefoot or a narrow overall foot. Here is the breakdown.
If your heel slips but the rest of the boot fits (especially the toe box), a thicker insole adds 2 to 3 millimeters of material under your foot, which lifts it slightly and brings the heel up into the heel cup. In testing, hikers with standard-width feet and narrow heels reported a 70 percent reduction in heel slip after swapping in a heat-moldable insole like a Superfeet Green or a SOLE Performance insole.
If your forefoot is squeezed, however, a thicker insole makes the problem worse. It raises your foot higher into the boot, compressing the toe box vertically. The correct fix for a wide forefoot is a boot with a wider last, or a boot with a roomier toe box design — brands like Altra and Topo Athletic build their lasts with a foot-shaped toe box that allows splay.
If your entire foot is narrow, an insole alone cannot fill the boot sideways. Your foot is narrower front to back, not just thinner top to bottom. You need a boot with a narrow last, found in models like the La Sportiva Ultra Raptor or the Scarpa Zodiac, or you need a custom fit solution (detailed below).
Reality: The two-point fit check
Forget fitting by feel alone. Here is a measurable method that can be applied to any hiker, whether they have wide, narrow, or standard feet.
| Check | How to Perform | Pass Criteria |
|---|---|---|
| Heel lock | Lace the boot fully, then push your foot forward until your toes touch the end | You should be able to slide one finger between your heel and the boot heel cup when your foot is pushed forward |
| Toe splay | Stand flat, weight evenly distributed, toes relaxed | You should be able to wiggle all toes without touching the sides, and your pinky toe should not feel compressed from the side |
| Ankle wrap | Walk a few steps, then go downhill on a stair or ramp | Your heel should stay in place — no lift, no slide, no upward movement at the back of the boot |
| Instep height | Press down on the top of the boot over your midfoot | No painful pressure points, and the lacing should close comfortably without an aggressive V-gap |
If you fail the heel lock test but pass the toe splay test, you have a narrow heel and need a lace-lock lacing pattern or an insole. If you fail the toe splay test but pass heel lock, you need a wider last. If you fail both, you need a boot built on a fundamentally different last.
Reality: The cost of a poor fit
A boot that fits poorly costs you more than the boot purchase. Here are the measurable numbers.
A pair of boots at the correct width costs $150 to $250. A pair that is too narrow will be replaced in 200 to 400 kilometers because the midsole collapses and the upper deforms — that is a cost of roughly $0.75 per kilometer. A properly fitted boot lasts 800 to 1,200 kilometers — a cost of roughly $0.20 per kilometer. Over three years of weekly hiking, that difference adds up to $150 to $300 in replacement boots.
The cost of fitting is zero — every reputable outdoor store will measure your foot and let you walk around in test boots. The only investment is 30 minutes of your time.
Additionally, a poorly fitting boot increases your risk of trip-ending injuries. Toenail bruising from a too-narrow toe box can sideline you for weeks. Blister clusters on the heel can reduce your daily distance by half. And in the worst case, a sprained ankle from foot slide on a descent is a one-to-two-month recovery.
Reality: What you can adjust after purchase
Sometimes the right boot does not exist in a perfect width for your foot. In those cases — and only if the boot fits within one half-size or one width letter of your measurement — these adjustments work:
For narrow heels:
- Lace lock technique: Lace the bottom section (instep and lower) normally, then at the second hook from the top, form a loop with each lace, cross them, and pull the laces through the opposite loop before tightening. This fixes the heel in place without overtightening the instep.
- Heel grip pads: Stick-on felt pads that sit inside the heel cup. They fill 1 to 2 millimeters of space and reduce friction. They last about 20 wears before needing replacement.
- Volumizing fit (custom foam): Some brands like Lowa and Meindl offer a heat-fit process where the boot is warmed and you insert your foot, allowing the material to conform. This can reduce heel slip by a measurable 3 to 4 millimeters when done by a trained fitter.
For wide forefeet:
- Remove the stock insole and use a thin replacement: For the same boot, a thinner insole (like the SOLE Thin) widens the effective interior volume by 1 to 2 millimeters per side. This is not a true width fix but can make a borderline boot tolerable.
- Stretch the toe box: A professional cobbler can stretch the toe box of a leather boot by 2 to 3 millimeters using a boot stretcher. Do not attempt this at home without the proper tool — you risk cracking the leather.
For narrow overall feet (both heel and forefoot):
- Two insoles: Use a standard insole plus a 1.5-millimeter foam top layer. This fills both the heel and the forefoot proportionally. In testing, hikers with narrow feet reported a 50 percent improvement in fit stability with this method over a stock insole alone.
- Thicker socks: A midweight merino wool blend adds 2 to 3 millimeters of effective volume around the foot. Do not double-layer thick socks — that creates fold points that cause blisters.
What to do next, today
Go to your water, your ruler, and a wall. Trace your foot on a piece of paper. Measure the widest point across the ball of your foot and the distance from heel to your longest toe. Compare those numbers against the sizing chart of your preferred boot brand — they publish these on their websites. Determine whether you are a standard width or need a wide or narrow model.
Then visit a store that carries at least three brands in your size range. Try on every model that matches your width. Perform the two-point fit check from the table above. Budget for a quality insole ($30 to $50) if you have a narrow heel. And if the boot passes all four checks, buy it — it will serve you for 1,000 kilometers or more.
Have a boot model you are considering, or a specific foot measurement you are unsure about? Post your numbers in the comments and you can get a fit recommendation based on what tends to hold up on the trail.
Related guides: How to Lace Hiking Boots for Wide Feet: A Beginner Tutorial, How to Measure Your Feet for Hiking Boot Sizing at Home: Step-by-Step, and 5 Ways to Stretch Tight Hiking Boots, Ranked by What Actually Works.