There is a measurable difference between a hiker who covers 200 miles per year and a guide who covers 200 miles per month. That difference shows up in the boots. Consumer maintenance schedules assume your boots get a week of rest between outings. A professional rotation gives boots maybe 14 hours of downtime before they are back on the trail, wet, loaded, and working. If you guide for a living, the standard advice about cleaning after every third hike will leave you with dead boots by mid-season. This checklist is built for that reality.
Step 1: Establish Your Baseline with a Stress Test
Before the season starts, you need to know if your boots can survive a 14-day rotation at all. Skip the visual inspection. That tells you almost nothing. Perform this four-part stress test on every pair you plan to rotate:
- Heel-to-toe flex. Grip the boot at the heel counter and toe bumper. Bend it forcefully 20 times. Listen for creaking. Creaking indicates the midsole foam is beginning to shear. One season of guiding is the maximum life left in that boot.
- Lateral torque. Twist the toe box in opposite directions. The sole should resist firm torque. If you feel more than 5 degrees of give, the adhesive bond between the midsole and upper has degraded. This is the failure point that strands guides mid-route.
- Rand line probe. Use a thin plastic card or a guitar pick to probe along the entire junction between the upper and the sole. If the pick slides under the rubber more than 2mm at any point, the boot requires immediate adhesive injection before field use.
- Stitch census. Run your thumb along every external seam with firm pressure. Locate any stitch that moves, pulls, or snaps under pressure. Mark these with a silver Sharpie. They will fail on trail.
Boots that pass this test get a full service. Boots that fail get retired or demoted to short, easy day hikes. Guiding professionally means you cannot afford to learn about a structural failure at mile nine of a twelve-mile route.
Step 2: Rotate, Never Consecutive
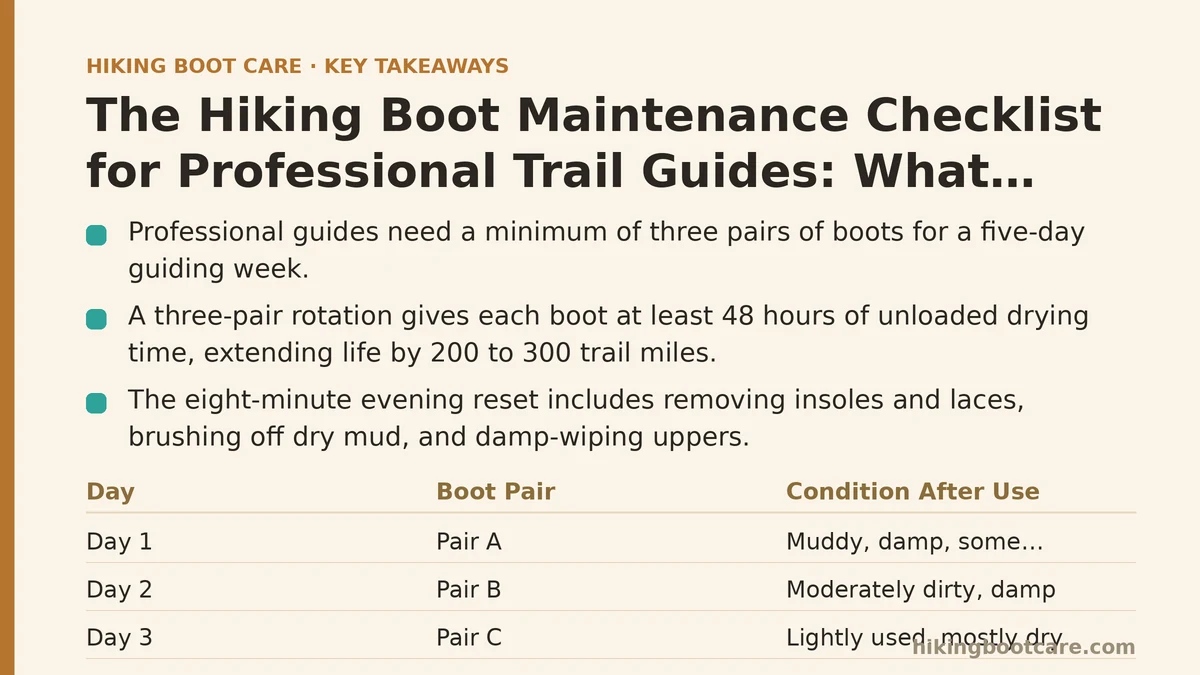
If you guide five days per week, you need a minimum of three pairs of boots. This is not luxury; it is mechanical necessity. A boot that is worn two days in a row never gets a chance to dry its midsole foam. Wet foam compresses permanently, losing up to 40% of its cushioning within six weeks of continuous damp use.
Your rotation system should work like this:
| Day | Boot Pair | Condition After Use |
|---|---|---|
| Day 1 | Pair A | Muddy, damp, some compression |
| Day 2 | Pair B | Moderately dirty, damp |
| Day 3 | Pair C | Lightly used, mostly dry |
| Day 4 | Pair A | Dry, needs brushing only |
| Day 5 | Pair B | Dry, needs lacing check |
This 3-pair system gives each boot a minimum of 48 hours of unloaded drying time. In practice, this single change extends boot life by 200 to 300 trail miles compared to a 2-pair rotation.
Step 3: The Eight-Minute Evening Reset
Professional use means you do not have a full maintenance hour after every shift. You have eight minutes between dropping your clients at the lodge and collapsing into dinner. This is the non-negotiable evening reset:
- Remove insoles and laces (1 minute). Never skip this. The insole traps foot moisture against the footbed and accelerates midsole degradation.
- Brush off dry mud (2 minutes). Use a stiff nylon brush. Do not rinse boots with water at this stage. Rinsing pushes grit deeper into the fabric weave.
- Damp-wipe the uppers (2 minutes). A microfiber cloth dipped in clean water, wrung out until barely damp. Wipe down the full upper, paying attention to the tongue folds and the heel pocket.
- Air placement (2 minutes). Position boots upside down in a dry, ventilated room with the insoles placed on top of the boots. Never place boots on a direct heat source — radiators and forced-air vents dry leather unevenly and cause cracking. Aim for ambient room temperature around 20°C.
- Sniff check (1 minute). A sour odor from inside the boot means bacterial buildup. Spray with a 50/50 vinegar-water solution and air dry. Sour boots left untreated will rot the liner within two months.
This eight-minute reset prevents 80% of the long-term damage that ends professional boots prematurely.
Step 4: Deep Clean Protocol — Every 10 Trail Days
For a professional guide, deep cleaning happens every 10 trail days, not every 3 to 5 hikes. This schedule reflects the fact that your boots accumulate trail grit at roughly four times the rate of recreational boots. Mark your calendar or set a recurring reminder — do not rely on memory.
Here is the 20-minute deep clean process:
- Remove insoles and laces and hand-wash them separately with lukewarm water and a drop of pH-neutral soap. Rinse thoroughly.
- Rinse the boots with lukewarm water at 30°C maximum. Do not submerge them. Direct a gentle stream inside the boot to flush out debris accumulated near the toe box.
- Brush all surfaces with a medium-bristle brush. Compressed air (like a keyboard duster) works exceptionally well for blowing out the stitch channels and the lace eyelets.
- Use a dedicated boot cleaner. For professional use, Nikwax Footwear Cleaning Gel is the standard. It is pH-neutral and does not strip the DWR finish. If you are using any household detergent, stop. Dish soap leaves a film that repels future waterproofing treatments.
- Rinse again until the runoff is completely clear. Two or three rinses are usually sufficient after a muddy week.
- Dry thoroughly. Stuff boots with plain white newsprint or paper towels. Change the paper every 4 to 6 hours. Full drying takes 24 to 36 hours in a climate-controlled room. Never force-dry with a hair dryer or heat gun.
Step 5: Restoration Day — The Full Service
Deep cleaning every 10 days is maintenance. This full service happens every 20 to 25 trail days (roughly every 5 to 6 weeks of full-time guiding). It takes about 45 minutes plus overnight drying.
Your restoration day has five parts:
- Cleaning and full drying. Follow the Step 4 protocol, but extend the drying time to 48 hours. The boot must be bone-dry before any conditioning product is applied.
- Leather conditioning. For full-grain leather boots, apply Nikwax Leather Conditioner or an equivalent oil-based conditioner. Use a small amount — a pea-sized drop per panel — and work it in circular motions. Focus on the crease points around the toe flex and the heel collar. Let it absorb for 30 minutes, then wipe off any excess. Over-conditioning softens leather and reduces its structural support for the foot and ankle.
- Seam and adhesive inspection. Examine every seam under a bright light. Apply Gear Aid Seam Grip to any cracked or degraded factory sealing. For any persistent rand separation discovered in earlier stress tests, inject Seam Grip directly into the gap using the applicator tip. Press firmly for 60 seconds. Allow a full 24 hours of cure time before flexing the boot.
- Waterproofing reapplication (fabric and leather). If the boots are fabric or synthetic (including Gore-Tex), apply a spray-on DWR. Nikwax TX.Direct or equivalent is standard. Key detail: apply while the boots are still slightly damp from the cleaning rinse, not bone-dry. Hydrated fibers absorb and bond the treatment more deeply.
- Heat curing. This distinguishes a professional result from a consumer one. After DWR application, use a hair dryer on medium heat, holding it 10 to 15cm from the surface, moving continuously. Focus on the toe box and heel. This activates the water-repellent chemistry. For boots with a full-grain leather upper, skip the hair dryer and let them sit overnight at room temperature.
Step 6: Field Repair Kit — What You Carry on the Trail
Even with a perfect rotation, field emergencies happen. Guides need to make field repairs that keep a client walking, not just patch a boot until the end of the day. Your repair kit should weigh less than 400 grams and contain these items:
- Gear Aid Seam Grip (small tube, 30g) — for tear and seam emergency patches
- Tenacious Tape (2-inch strip) — for quick fabric and leather patchwork
- 2 zip ties (15cm) — for emergency outsole reattachment when adhesive has failed
- 1 spare pair of laces (braided polyester, 140cm)
- 4 super glue tubes (3g each) — for small seam splits and loose eyelets
- 1 rubber band (heavy-duty) — for holding a patch in place while adhesive cures
Field repair decision tree:
| Situation | Repair Method | Time to Complete |
|---|---|---|
| Torn fabric upper, no membrane damage | Apply Tenacious Tape over the tear, both sides if accessible | 5 minutes |
| Torn fabric with membrane exposed | Apply Seam Grip over the membrane, let cure 15 minutes, then tape over the top | 20 minutes |
| Outsole peeling at toe | Inject super glue into the gap, press and hold for 60 seconds, wrap with rubber band | 10 minutes |
| Outsole full separation mid-route | Use zip ties to cinch the sole to the upper, continue to trailhead | 15 minutes |
| Broken lace | Replace with spare pair immediately | 2 minutes |
Step 7: Seasonal Retirement Decisions
Even professional maintenance cannot keep a boot alive forever. The industry standard for a guide’s primary boot is 500 to 800 trail miles depending on terrain, load, and your body weight. Beyond that, the midsole foam degrades structurally even if the boot looks acceptable from the outside.
You have hit the retirement threshold for a boot when any of these appear:
- A visible compression line across the midsole where your toes flex — this indicates the foam has lost 60% of its shock absorption.
- The heel counter has begun to roll inward when you flex the boot sideways.
- Water penetrates through the upper within the first hour of sustained rain, even after a fresh DWR treatment. This indicates membrane failure.
- The rand line is peeling at multiple points simultaneously.
When a boot reaches this stage, retire it from guiding duty entirely. Do not demote it to shorter hikes — the reduced cushioning will alter your stride and cause knee and hip issues over time. A guide relies on their boots more than any other piece of equipment. The cost of a new pair is a fraction of the cost of a mid-season injury.
The 90-Day Professional Maintenance Calendar
This schedule assumes a 14-day guiding rotation with 20+ trail days per month.
| Timeframe | Action | Duration |
|---|---|---|
| Evening (daily) | Eight-minute reset: brush, damp wipe, air dry | 8 min |
| Every 10 trail days | Full deep clean, laces + insole washing | 20 min |
| Every 20–25 trail days | Restoration day: condition, seam seal, DWR, heat cure | 45 min + 48h dry |
| Every 5 restoration days (quarterly) | Stress test: flex, torque, rand probe, stitch census | 10 min |
| Every 500–800 trail miles | Retire the boot from guiding duty | N/A |
The difference between a guide whose boots last 700 miles and one whose boots die at 350 miles is often not the brand or the price. It is consistency. The evening reset cannot be skipped when you are tired. The 10-day deep clean cannot be delayed because the weather was good. Follow this calendar and your boots will outlast every expectation you have.
One final rule: keep a detailed maintenance log for each pair — dates of cleaning, conditioning, and repair. When a boot fails unexpectedly, that log tells you precisely which step in your system broke down. Write it in a notebook or a spreadsheet; the format does not matter. The data does.
What maintenance steps have you found essential for your guide rotation? If your boots fail early and you can’t figure out why, leave a comment with your usage pattern, and the community can help you troubleshoot based on patterns commonly seen in professional settings.
Related guides: Your Pre-Season Hiking Boot Maintenance Checklist: What Experts Actually Do, The Best Hiking Socks to Extend Boot Lifespan: A Troubleshooting Guide, and 5 Ways to Stretch Tight Hiking Boots, Ranked by What Actually Works.