By the end of this post you will be able to build a boot maintenance routine matched to your mileage, whether you are grinding out 20-mile days on a long trail or heading out for a five-mile loop most Saturdays. The two cases look similar on the surface — both involve hiking boots, dirt, and water — but the frequency, products, and priorities diverge sharply once you account for weekly wear hours, drying windows, and how much a mid-trip failure costs you.
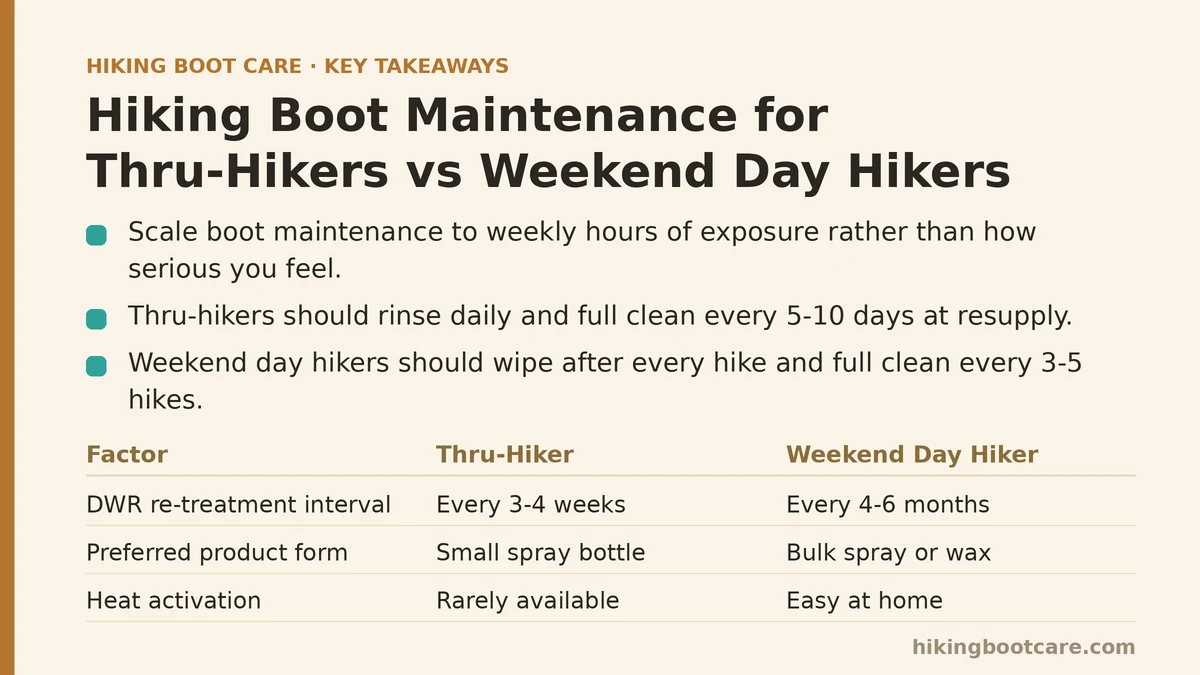
The core idea: maintenance should scale with hours of exposure per week, not with how serious you feel about hiking. A thru-hiker logging 70 hours a week and a day hiker logging 5 hours a week need different plans, and mixing them up wastes money or invites premature boot death.
Step 1: Define Your Category Before You Buy Anything
Before picking a single product, place yourself in one of two buckets. Most people fall clearly into one.
You are a thru-hiker if:
- You hike 15-25 miles per day, 5-7 days per week, for 4-6 months
- Your boots or shoes are wet, muddy, or dusty on most days
- You resupply every 3-7 days and carry only ounces of extra gear
- Replacement of a failed pair mid-trail can cost you a week and $150-$300
You are a weekend day hiker if:
- You hike 4-12 miles per outing, once or twice a week
- Your boots dry fully between trips
- You have a closet, garage, or mudroom to store gear properly
- A failed boot means a trip postponed, not a trip ended
A third, smaller group exists: the section hiker who does 50-150 miles per year in a few long pushes. Treat them as day hikers for storage and as thru-hikers for pre-trip prep. Everything below maps to one of these two main categories.
Step 2: Set Your Cleaning Frequency
Cleaning frequency is the single biggest divergence between the two groups.
Thru-hiker cleaning cadence:
- Rinse mud and grit off the uppers daily when water is available — 2-3 minutes with a stream and your hand
- Full clean with a soft brush and pH-neutral cleaner every 5-10 days, usually at a resupply town with a sink
- Never let caked mud sit overnight if you can help it; dried mud pulls DWR off with it as it flakes
Weekend day hiker cleaning cadence:
- Rinse or wipe boots after every hike once home — 3 minutes with a damp cloth
- Full clean with cleaner and brush every 3-5 hikes, or roughly monthly
- Deep clean before storage at the end of a season
The trap for day hikers is skipping the post-hike wipe because “it was only a short hike.” Grit embedded in fabric acts like sandpaper against the membrane and stitching, and it only accumulates. The trap for thru-hikers is over-cleaning in town with hot water or harsh soap, which strips DWR faster than trail dirt would.
Step 3: Time Your Waterproofing Treatments Differently
DWR (durable water repellent) coatings wear off with abrasion and contamination, typically within 20-30 days of active hiking. How you respond depends entirely on your category.
| Factor | Thru-Hiker | Weekend Day Hiker |
|---|---|---|
| DWR re-treatment interval | Every 3-4 weeks on trail | Every 4-6 months |
| Preferred product form | Small spray bottle (weight matters) | Bulk spray or wax at home |
| Heat activation | Rarely available on trail | Easy — oven, dryer, or hair dryer at home |
| Membrane care | Rely on membrane; refresh DWR when possible | Refresh DWR fully each season |
| Seam seal check | Weekly visual check at resupply | Before each season |
| Full deep clean + re-proof | Every 300-500 miles | Once or twice per year |
A thru-hiker cannot carry a hair dryer, so heat activation usually happens in town at a hostel or motel, or it gets skipped and the treatment bonds weakly. Accept this. Reapply more often instead, using a small 100ml spray.
A day hiker has no excuse to skip heat activation. It is the difference between a treatment that lasts 30 days and one that lasts 4 days. Use a tumble dryer on low (no higher than 40°C / 104°F) for 20-30 minutes, or a hair dryer held 10-15 cm from the surface on medium heat with constant motion.
Step 4: Handle Drying Correctly for Your Situation
Wet boots are the number one killer of boots in both groups, but for different reasons.
Thru-hiker drying protocol:
- Remove insoles and loosen laces the moment you stop for the night
- Stuff with a dry bandana or spare sock to wick interior moisture
- Never dry by a fire — radiant heat cracks leather and delaminates soles
- Accept that on multi-day wet stretches, boots will be damp in the morning; rotate socks instead of fighting it
- If you can get to a heated room at resupply, dry thoroughly there — a full 8-hour dry resets the boot
Weekend day hiker drying protocol:
- Air-dry at room temperature, out of direct sun, for 24-48 hours
- Stuff with newspaper if the interior is soaked — replace the paper after 2 hours
- Never store boots damp in a bag or bin; mildew sets in within 48-72 hours
- Keep a dedicated drying spot (mudroom hook, garage shelf) so drying is automatic
A persistent mistake in both groups is drying in direct sun. UV exposure degrades both DWR and the rubber rand over time, and it can shrink leather. Air circulation in shade is faster and safer.
Step 5: Build Category-Specific Repair Kits
What you carry or keep at home should differ dramatically.
Thru-hiker kit (target: under 100 grams):
- 1 small tube of Gear Aid Seam Grip or Shoe Goo (about 30g) — for rand and sole delamination
- 2 spare laces
- 1 small bottle of DWR spray (transfer to a 50-100ml container)
- 1 small square of duct tape wrapped around a trekking pole or lighter
- 1 spare insole if the originals are compressed
Weekend day hiker kit (home kit, not carried):
- Full-size DWR spray bottle
- pH-neutral cleaner (e.g., Nikwax Footwear Cleaning Gel)
- Leather conditioner and wax for leather boots
- Soft brush and microfiber cloths
- Replacement laces
- A pair of quality aftermarket insoles
The thru-hiker kit is about surviving until the next town. The day hiker kit is about restoring full performance at home. Do not confuse the two — carrying a full cleaning kit on a thru-hike wastes weight and often ends up discarded.
Step 6: Know the Failure Points and When to Retire
The two groups hit different failure modes at different times.
Thru-hikers will typically see:
- Midsole compression (foam goes flat) at 500-800 miles — no repair; retire or replace
- Rand separation at 400-700 miles — repairable with Seam Grip in the field
- Membrane failure (leaks) at 600-1,000 miles — no repair; the boot is done in wet climates
- DWR failure constantly — reapply frequently, this is normal
Weekend day hikers will typically see:
- Dry, cracked leather after 2-4 years of storage neglect — usually preventable with conditioning
- Compressed insoles after 1-2 years — replace, don’t retire the boot
- Frayed laces — replace at first sign
- Mildew from improper storage — address with baking soda and full drying, sometimes not recoverable
- Sole hardening from age, not mileage — check with a torch-free bend test each season
If you are a day hiker who finds a midsole crack or a sole that has gone brittle with age, no product will fix it. Boots left in a hot garage for a summer often lose 1-2 years of usable life to adhesive and foam degradation, even with zero miles on them.
Step 7: Schedule Your Routine Based on Your Calendar
Pull it together into a schedule you will keep.
Thru-hiker weekly rhythm:
- Daily: rinse mud, remove insoles, air-dry overnight
- Every 5-10 days (resupply): full clean, inspect seams and rand
- Every 3-4 weeks: DWR re-treatment if a town stop allows heat activation
- Constant: monitor midsole firmness and rand glue at the toe
Day hiker seasonal rhythm:
- After every hike: wipe down, dry fully, do not store damp
- Monthly: quick seam and lace inspection
- Every 3-5 hikes (or monthly in the wet season): full clean and DWR re-treatment
- Before each season: full deep clean, condition leather, re-proof, check insoles and laces
- At season end: clean, dry completely, store in a cool dry place — never a hot garage
What To Do Next
Pick your category honestly, then do one of these two things today:
- Thru-hiker: Weigh your current repair kit. If it is over 150g, cut it to the essentials in Step 5. Then do a 5-minute seam and rand inspection tonight — a rand peeling at the toe is 100 times easier to fix now than 40 miles from town.
- Weekend day hiker: Go pull your boots out of wherever they are stored. If they are dry, check laces, flex the midsole, and press the insoles with your thumb. If they are damp or musty, start the drying process immediately and plan a full clean and re-proof this weekend. The full routine takes about 45 minutes and about $20-30 of product.
Have a boot situation that does not fit neatly into either category, or a mid-trail repair you are unsure about? Describe the boot, the conditions, and the failure in the comments and you will get a take based on how these issues commonly play out in the field.
Related guides: How to Waterproof Your Hiking Boots at Home: What Works, Your Pre-Season Hiking Boot Maintenance Checklist: What Experts Do, and Common Hiking Boot Care Mistakes to Avoid (According to What Fails).