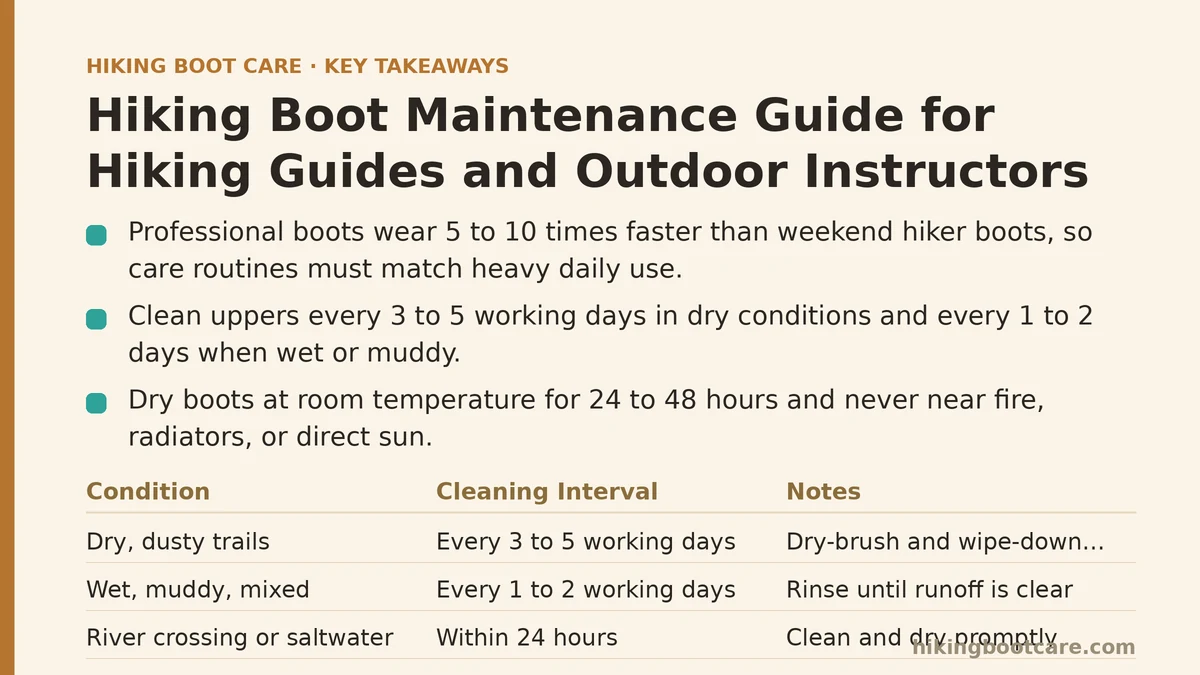
Boot maintenance for a hiking guide or outdoor instructor is a durability problem, not a cosmetic one. When a pair of boots is worn for six to eight hours a day, five or more days a week, across wet grass, abrasive rock, mud, and repeated river crossings, wear accumulates roughly five to ten times faster than it does for a weekend hiker. A care routine built for occasional use will not keep up. What follows is a repeatable, sequential maintenance system designed for boots in near-constant professional service.
Step 1: Set a Cleaning Interval Based on Exposure, Not the Calendar
The first decision is frequency. Most boot care advice assumes occasional use, so “clean every few months” is useless for a working guide. Tie cleaning to exposure instead.
- Dry, dusty trails: clean the uppers every 3 to 5 working days.
- Wet, muddy, or mixed conditions: clean after every 1 to 2 working days.
- After any river crossing or saltwater exposure: clean and dry within 24 hours.
- After any full soak-through: treat as an incident, not a routine clean — see the drying rules in Step 3.
The reason is simple. Mud and grit trapped in seams and stitching act as an abrasive. Every flex of the boot grinds that grit into the fabric and thread. Over weeks of daily use, this erodes stitching faster than trail contact alone.
Step 2: Clean Without Stripping the Treatment
Professional-volume cleaning has one failure mode: over-cleaning with the wrong product strips the factory DWR faster than dirt does.
- Use lukewarm water around 30°C and a pH-neutral cleaner. Do not use dish soap, laundry detergent, or bleach — residues left by these products repel subsequent waterproofing treatments.
- Remove insoles and laces before cleaning. Both trap moisture and need separate attention.
- Brush in circular motions with a soft brush, concentrating on the rand line (where the upper meets the sole), seam lines, and the tongue folds.
- Rinse until the runoff is completely clear, which typically takes three or four cycles after a muddy day.
For guides working in dry, dusty conditions, a dry-brush and wipe-down is often enough between deeper washes. Reserve full wet cleaning for soiled boots to slow DWR degradation.
Step 3: Dry Correctly — This Is Where Boots Die
Improper drying causes more premature failures than trail wear. Leather cracks, midsoles delaminate, and linings mildew when boots are dried too fast or too slowly.
- Never dry boots next to a fire, radiator, or in direct sun. High heat shrinks leather and softens sole adhesives.
- Remove insoles and open the boot fully to allow airflow through the interior.
- Stuff loosely with newspaper to draw moisture from the lining. Change the paper every few hours for the first day.
- Dry at room temperature, typically 24 to 48 hours for a soaked boot. If boots must be ready for the next day’s session, alternate between two pairs rather than forcing one pair dry overnight.
For professionals, owning two pairs and rotating them is the single most effective durability measure. A boot that dries fully between uses lasts substantially longer than the same boot worn wet every day.
Step 4: Restore Waterproofing at the Material-Specific Interval
DWR coatings wear off with use, washing, and UV exposure. For weekend hikers the interval is measured in months; for professionals it is measured in weeks. Re-treat when the bead test fails — water that spreads and darkens the fabric instead of forming droplets.
| Boot Material | Cleaning Method | Waterproofing Product | Re-treatment Interval (professional use) |
|---|---|---|---|
| Full-grain leather | Damp cloth + leather cleaner | Wax-based treatment | Every 3–4 weeks |
| Nubuck / suede | Soft brush, suede-specific cleaner | Conditioning spray for nubuck/suede (never wax) | Every 3–4 weeks |
| Synthetic / textile | pH-neutral gel + soft brush | Spray-on DWR | Every 2–3 weeks |
| Combination (leather toe/heel + fabric panels) | Section-by-section | Match product to each section | Every 2–3 weeks |
Apply treatments while boots are slightly damp, not soaking wet. Hydrated fibers relax and accept the treatment more deeply. Follow with gentle heat activation — a tumble dryer on low (no higher than 40°C) for 20 to 30 minutes, or a hair dryer held 10 to 15cm from the surface on medium heat — to bond the DWR to the fabric. Skipping heat activation shortens treatment life considerably.
Step 5: Run a Structural Inspection Every Two Weeks
Set a recurring inspection. Every two weeks, before cleaning, check the boot in its as-is state — cleaning can wash away the dust that highlights developing cracks.
- Flex test: Bend the boot heel-to-toe and watch the midsole for deep cracks. Check the rand line for any separation.
- Torque test: Twist the sole. Excessive give can indicate delamination.
- Seam inspection: Under bright light, check every stitch line for pulled threads or cracked factory sealant. Apply seam sealant such as Gear Aid Seam Grip to any suspect area and allow a full 12-hour cure.
- Outsole check: Inspect lug depth at heel and toe. Once lugs are worn smooth in the primary contact zones, traction on wet rock and mud is compromised. Track this — for daily-use boots, expect meaningful lug wear within a season or two.
- Lace check: Replace laces at the first sign of serious fraying. Frayed laces are internally worn and can snap under load on a cold morning. Keep a spare pair in your pack.
Step 6: Follow Clear Repair-or-Retire Decision Branches
Inspection results should map directly to an action. Use this logic:
- Minor rand peeling or a small seam split → clean, dry, apply seam sealant or boot adhesive, cure 12 hours, re-test. Return to service.
- Shallow midsole surface cracks with no separation → continue use, monitor weekly.
- Deep midsole cracks, sole delamination, or a sole separating from the upper → retire the boot. No treatment fixes a failed structural bond, and a sole failure mid-session is a safety issue for a guide responsible for others.
- Packed-down, non-rebounding insoles → replace with quality aftermarket insoles. This is the cheapest meaningful upgrade for boots in daily use.
- Mildew odor or rough interior seams → treat with baking soda overnight, dry fully, and check the lining for collapsed material that will cause blisters.
For professionals, the practical rule is to retire boots before they fail, not after. A boot that is one session away from a sole separation is a liability on a guided route where you cannot easily extract yourself or your group.
Step 7: Build the Routine Into Your Week
The system only works if it runs on a fixed cadence. A workable professional schedule looks like this:
- After every session: remove insoles, air out, dry at room temperature, brush off loose dirt.
- Every 1–3 sessions (depending on conditions): full clean and rinse.
- Every 2–3 weeks: re-apply waterproofing with heat activation.
- Every 2 weeks: structural inspection.
- Every season: full audit — lug depth, midsole condition, insole compression, lace wear — and replace anything at end of life.
Rotating two pairs of boots spreads the workload and allows each pair to dry fully between uses, which is the most effective single change a professional can make.
What to Do Next
Start with the two highest-impact actions today: adopt the two-pair rotation so boots dry fully between sessions, and run the bead test on your current pair to find out whether the DWR has already failed. If water spreads instead of beading, deep clean and re-treat before your next working day. Then put the two-week structural inspection on a recurring reminder — that is the check that catches a failing sole or seam before it strands you or a group on the trail.
Working with a specific boot model or material and unsure about the right product or interval? Describe it in the comments and you’ll get a take based on how that material type commonly behaves under heavy use. Related guides: How to Waterproof Your Hiking Boots at Home: What Works, Your Pre-Season Hiking Boot Maintenance Checklist: What Experts Do, and The Hiking Boot Maintenance Checklist for Professional Trail Guides: What Works in the Field.