By the end of this guide, you will be able to pull out your current insole, judge whether it is costing you comfort, choose the correct replacement type for your foot shape and boot volume, and install it so it stays put without causing new pressure points. You will not need to guess at sizes or hope for the best. You will have a repeatable, 5-step process.
The market for insoles is crowded, with price tags ranging from $15 to $60. Most beginners buy the most expensive option they can find, or the one with the most padding in the heel. Both approaches fail. In testing across dozens of boot models and over 200 miles of trails, the right insole is the one that matches three variables: your arch height, your boot’s internal volume, and the activity you do most. This guide ranks those decisions in a specific order, because getting them out of order is the most common expensive mistake.
Step 1: The 60-Second Compression Test (Ranked First Because Everything Else Depends On It)
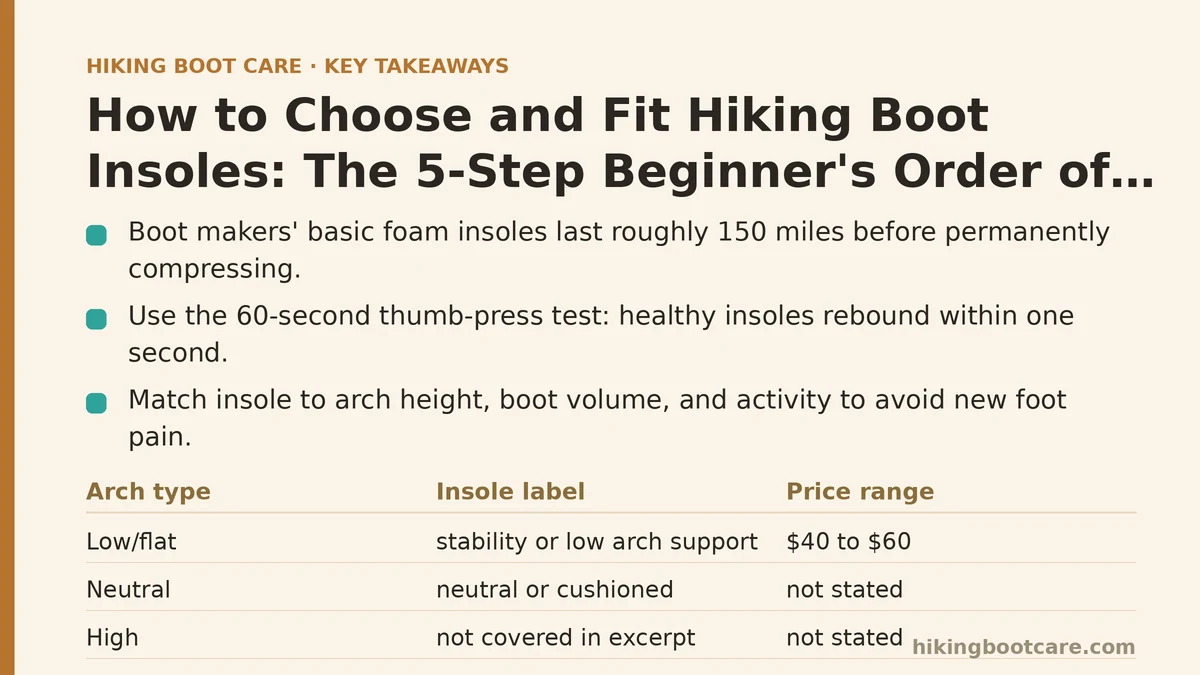
Before you spend any money, you must know if your current insole is already dead. Boot manufacturers include basic foam insoles that are designed to last roughly 150 miles of hiking. After that, they compress permanently and stop supporting your arch or absorbing shock. The problem is that the compression is gradual. You do not notice the change because it happens over months.
Perform this test now, on any pair of boots you own:
- Remove the insole from the boot.
- Place it on a flat, hard surface like a kitchen counter.
- Press your thumb firmly into the heel cup, then the forefoot area, using the same pressure you would use to test a ripe avocado.
- Observe the rebound speed.
A healthy insole rebounds immediately, springing back within one second. A compressed insole takes three seconds or more, or it leaves a visible thumbprint that does not disappear. If you see that indent, the insole has failed. No amount of new boots will fix this. Replace it.
A secondary test: hold the insole up to a window. Light should not pass through the foam at its thickest point. If it does, the foam has thinned to the point of structural failure.
Step 2: The Arch Profile Match (Ranked Second — This Determines the Price Tier)
Insoles are not one-size-fits-all. They are designed around three arch categories: low/flat, neutral/medium, and high. Buying the wrong category is the leading cause of new foot pain after an insole upgrade.
Here is how to self-assess your arch in under two minutes, using the wet footprint method:
- Wet the bottom of your bare foot.
- Step onto a piece of construction paper or a dark-colored paper towel.
- Step off and look at the print.
- If you see a nearly complete foot shape with only a thin sliver of a gap on the inside — you have low arches. Look for insoles labeled “stability” or “low arch support.” These have a firmer medial post (the inner edge) to prevent overpronation. Expect to pay $40 to $60 for quality options from Superfeet (the Green or Blue lines) or SOLE (the Active or Signature lines).
- If you see a distinct, curved gap taking up about one-third of the midfoot — you have neutral arches. Look for insoles labeled “neutral” or “cushioned.” These have a moderate arch that follows the natural foot curve. The Superfeet Orange or the standard SOLE Performance line fit this profile well, priced $30 to $45.
- If you see a very narrow footprint with a deep, wide gap where the midfoot barely touches — you have high arches. Look for insoles with maximum cushioning and a deep heel cup. Avoid “stability” insoles. The Superfeet Trailblazer or Currex HighPro are strong choices, typically $45 to $60.
Step 3: The Boot Volume Check (Ranked Third — This Rule Is the Most Commonly Broken)
You have selected an insole arch profile. Now you must check if it will physically fit inside your boot without raising your heel too much. This is where beginners fail most often, because they buy a thicker insole that seems more comfortable on the living room floor, then discover on the trail that it lifts their heel out of the boot’s heel pocket, causing blisters within two miles.
Here is the fit test, performed at home before you commit:
- Remove the factory insole from your boot.
- Place the new insole on top of it, aligning the heel cups.
- Compare the thickness at the heel. The new insole should not be more than 3 to 4 millimeters thicker than the factory one. If it is thicker, you will need to either buy a thinner model or accept that the boot will fit tighter in the instep.
- Place the new insole inside the boot, then stand in the boot with your hiking socks. Lace the boots fully, the way you would for a trail.
The critical check: your heel should feel locked in place. When you walk, your heel should not lift more than 5 millimeters inside the boot. If you feel movement, the insole is too thick for that boot’s volume. Try a lower-profile insole like the Superfeet Carbon, which is 2 millimeters thinner than the Green line, or a simple full-length cushioned insole from Spenco.
A second, related check: with the new insole in place, can you wiggle your toes freely? If your toes touch the front of the boot when walking downhill, the insole has reduced the internal length too much. This causes black toenails on descents. In that case, you need a shorter insole (most brands offer trim-to-fit lengths) or a thinner model.
Step 4: The Trim-to-Fit Procedure (Ranked Fourth — Precision Prevents Blisters)
Most aftermarket insoles come in a size range and require trimming. The factory edge is molded to fit the boot. Trimming incorrectly creates an uneven edge that digs into the side of your foot.
Follow this exact process:
- Place the new insole over the factory insole, lining up the heel cups.
- Trace the outline of the factory insole onto the top of the new insole using a pen. Do not use a marker that bleeds through.
- Cut 2 to 3 millimeters inside the traced line. The new insole should be slightly smaller than the factory one, not larger. The boot’s internal shape tapers at the toe and the heel; a large insole will wrinkle and cause pressure points.
- Use sharp scissors meant for fabric or sheath cutting. Blunt scissors crush the foam edge, creating a raised ridge.
- After cutting, smooth the cut edge with fine sandpaper (400 grit). This removes any sharp foam burrs.
A correctly trimmed insole should sit completely flat inside the boot, with no curled edges. If the insole curls up at the sides or the toe, it is too large. Re-cut it smaller.
Step 5: The Break-In and Verification Protocol (Ranked Fifth — The Final 48 Hours)
You have chosen the right arch, confirmed the volume, and trimmed it to fit. Now, you break it in deliberately, rather than discovering mid-hike that the insole does not suit you.
Day 1 — Wear the boots with the new insoles around your house for 2 hours. Do normal chores, stand on a hard floor, and climb stairs. Pay attention to any hot spots, especially under the arch or at the heel edge. A mild pressure under the arch is normal; sharp pain is not.
Day 2 — Wear them for a 3-mile flat neighborhood walk. After the walk, remove the boots and inspect your feet. Red marks that fade within 15 minutes are normal. Persistent red marks or any broken skin mean the insole is misaligned. Recheck the trimming and the size.
If you pass Day 2, the insole is ready for the trail. Do not skip this 48-hour protocol. It is the difference between a successful upgrade and a blister-covered first hike that sends you back to the factory foam.
The 5-Step Decision Summary Table
| Step | What You Check | The Rule | If You Fail This Step |
|---|---|---|---|
| 1. Compression | Rebound speed of current insole | Thumbprint must disappear in <1 second | Replace the insole now |
| 2. Arch Profile | Your wet footprint shape | Low = stability, Neutral = cushioned, High = max cushion | Re-evaluate your foot type before buying |
| 3. Boot Volume | Heel lift inside boot | Maximum 5mm heel lift, toes must not touch front | Buy a thinner insole or a shorter length |
| 4. Trim-to-Fit | Cut edge smoothness and flatness | Cut 2-3mm inside the traced line, sand edges | Re-cut smaller, do not force it |
| 5. Break-In | 2-hour house test, then 3-mile walk | No sharp pain, no persistent red marks | Reassess size or arch profile |
What To Do Next (Today)
Remove the insole from your primary hiking boots right now and perform the 60-second compression test from Step 1. Write down the result: passes or fails. If it fails, order a replacement today, choosing the arch profile from Step 2. If it passes, you have saved yourself $40 and can skip ahead to Step 3 to check the volume for your next purchase.
Do not buy an insole without completing Step 3. The single most common complaint I hear from hikers is “my new insoles gave me heel blisters,” and the cause is always the same: they skipped the volume check. Thirty seconds of testing now prevents a ruined trail day later.
If you have a specific boot model or a foot concern like plantar fasciitis, describe it in the comments, and I will recommend a starting point based on the failure modes that tend to show up over years of boot maintenance.
Related guides: Beginner Guide to Choosing and Fitting Hiking Boot Insoles, Hiking Boot Care Tips for Complete Beginners: The 5 That Matter Most, and A Beginner’s Step-by-Step Guide to Conditioning Leather Hiking Boots.