Waterproofing failure is not a single event. It is a gradual breakdown of the DWR (Durable Water Repellent) coating on the boot’s exterior, which causes the outer fabric or leather to absorb water instead of shedding it. Once that outer layer is saturated — a condition called wetting out — even a boot with an intact internal membrane will feel wet from the inside, because cold, waterlogged fabric pressed against your foot transfers moisture and temperature regardless of what is happening underneath it. Testing your boots at home lets you catch this breakdown before it happens on a trail, where the consequences are a lot more expensive than fifteen minutes at your kitchen sink.
Below are the most common questions about testing boot waterproofing, answered using methods that are generally recommended before every season and before any trip longer than a day.
“How do I know if my boots need testing at all?”
If your boots are more than one season old, or if they have been through more than 20-30 days of active hiking, test them. DWR coatings degrade from abrasion, dirt, UV exposure, and repeated washing, and this happens whether or not you have noticed any leaking yet. The coating can fail well before you feel wet socks, because the internal membrane will keep compensating for a while before it gets overwhelmed.
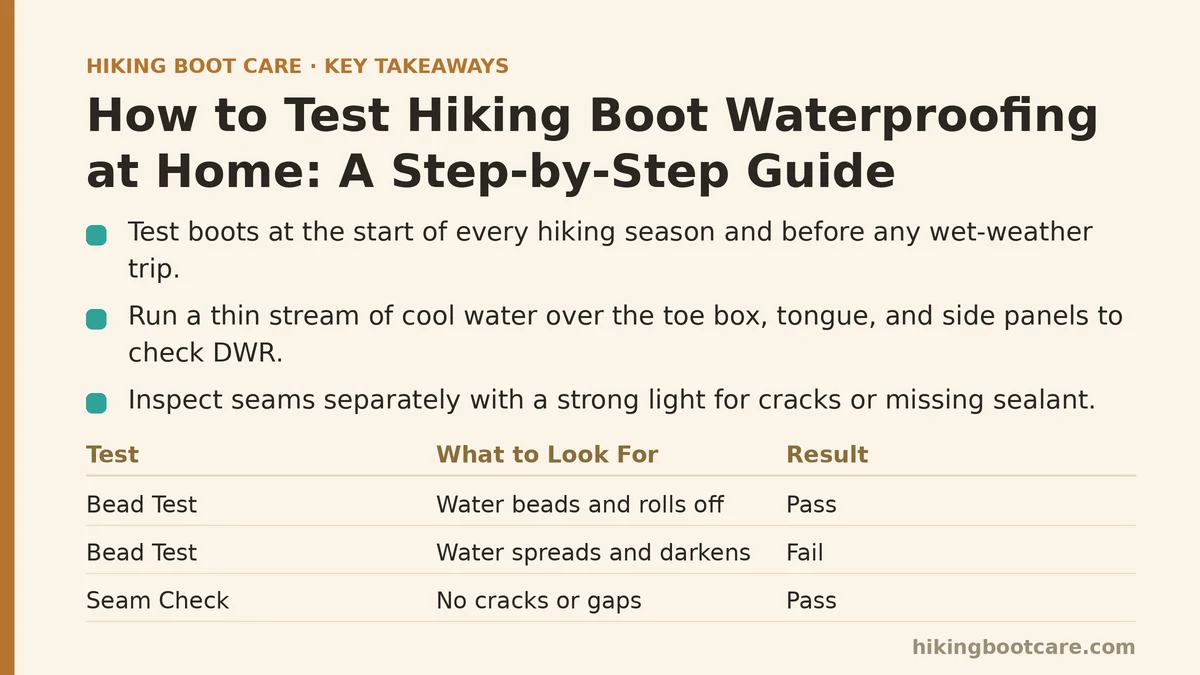
A rough rule I follow: test at the start of every hiking season, and again before any trip where wet weather is likely. It costs nothing and takes less time than lacing up.
“What’s the actual test — the one that tells the truth?”
The bead test is the simplest and most reliable at-home method. Here is how I run it:
- Make sure the boots are clean and completely dry. Dirt and residual sunscreen or bug spray can distort the results.
- Hold the boot at a slight angle over a sink or basin.
- Run a thin, steady stream of cool water over the toe box, the tongue, and the side panels — the areas that see the most direct water contact on a wet trail.
- Watch what happens in the first two or three seconds.
Pass: Water forms into distinct, rounded droplets and rolls off immediately, leaving the surface underneath dry to the touch.
Fail: Water spreads out into a flat sheen, soaks into the fabric or leather, and visibly darkens the material. This is wetting out, and it means the DWR coating has broken down in that spot.
Run this test on every panel separately, since DWR often fails unevenly — the toe box and the flex points near the ball of the foot tend to go first because they experience the most repeated stress.
“Do I need to test the seams separately from the fabric?”
Yes, and this step gets skipped more than any other. The bead test tells you about the outer fabric’s DWR coating, not about the integrity of the seams, which are a completely separate failure point. Every stitch hole is a potential entry point for water, regardless of how well the fabric itself is treated.
To check seams:
- Hold the boot up to a strong, direct light source — a bright window or a phone flashlight works.
- Look along every seam line, especially where the upper meets the sole (the rand) and around the tongue gusset.
- Look for cracked or missing factory sealant, pulled stitching, or any small gap where light passes through that shouldn’t.
If you find a compromised seam, no amount of DWR reapplication will fix it. That requires a seam sealant like Gear Aid Seam Grip, applied directly to the stitching and given a full 12 hours to cure before the boot is exposed to water again.
“Can I test without getting my boots wet at all?”
Partially. A quick visual and tactile pre-check can flag likely problem areas before you even reach for water:
- Look for a dull or dusty appearance on fabric or leather. Fresh DWR gives the surface a slightly sheened, almost repellent look. A flat, matte, “thirsty” appearance is a sign the coating has worn away.
- Run a dry hand over the surface. Leather that feels stiff, chalky, or cracked has likely lost both its oils and its water-resistant treatment.
- Check the last time you treated them. If you cannot remember, or it has been longer than three to six months of regular use, assume the coating needs attention and test to confirm.
None of this replaces the bead test, but it will tell you where to focus your water when you do run it.
“The boots failed the test. What’s the actual fix?”
Wetting out on the bead test means the outer DWR layer needs to be restored — it does not mean the boot itself is ruined or that the internal membrane has failed. The fix follows a specific order, and skipping steps is the most common reason reapplied waterproofing fails within a few outings:
- Deep clean first. Dirt and oils block new treatment from bonding to the fabric. Use a pH-neutral cleaner like Nikwax Footwear Cleaning Gel, not dish soap or laundry detergent.
- Apply the correct product for the material. Wax-based treatments for full-grain leather, spray-on DWR for synthetics and Gore-Tex uppers, and specialty sprays for nubuck or suede — using the wrong one can permanently alter the material’s texture or color.
- Apply while the boot is still slightly damp, not soaking, so the fabric fibers are relaxed and can absorb the treatment more fully.
- Heat-activate the treatment. A low-heat tumble dryer cycle (under 40°C) for 20-30 minutes, or a hair dryer held 10-15cm away on medium heat, sets the DWR so it bonds rather than sitting on the surface as a soft film.
- Re-run the bead test once the boots are fully dry. If they still fail, repeat the application — sometimes a single coat is not enough on older or heavily worn fabric.
“How often should I actually be doing this?”
Testing frequency should scale with how hard you use your boots.
| Usage Level | Bead Test Frequency | Seam Inspection |
|---|---|---|
| Casual (1-2 hikes per month) | Every 3 months | Twice a year |
| Regular (weekly hiking) | Monthly | Every 3 months |
| Heavy use (multi-day trips, wet climates) | Before every major trip | Before every major trip |
Keeping a small note with the date of the last test for each pair of boots you own is a useful habit. It sounds excessive until you are the person standing in ankle-deep mud realizing you have no idea when the boots were last treated.
Quick Reference: Reading Your Results
| What You See | What It Means | What To Do |
|---|---|---|
| Water beads and rolls off cleanly | DWR coating is intact | No action needed; retest in a few months |
| Water spreads and darkens the fabric | DWR has worn off (wetting out) | Clean, re-treat, heat-set, retest |
| Light passes through a seam | Seam sealant has cracked or failed | Apply seam sealant; allow full cure time |
| Leather feels stiff or chalky | Oils have dried out | Condition before applying any wax treatment |
| Interior feels damp with no visible leak | Membrane may be compromised or boot needs airing out | Dry fully between uses; inspect membrane integrity separately |
Testing your boots at home is a fifteen-minute habit that prevents a much longer, much wetter afternoon on the trail. Run the bead test, check your seams under good light, and treat what fails before you need the boots to perform. It’s a small routine, but it’s the difference between dry feet on day one of a trip and dry feet on day five.
Not sure how to read your specific result, or dealing with a boot material I haven’t covered here? Describe what you’re seeing in the comments and you can be walked through it.
Related guides: Hiking Boot Waterproofing Mistakes That Ruin Membranes: 7 Errors Ranked, 7 Common Mistakes When Waterproofing Hiking Boots and How to Avoid Them, and Common Waterproofing Mistakes That Ruin Leather Hiking Boots.