
Plain water makes salt stains worse. That is the counterintuitive part most hikers discover after their first winter season. Rinsing road-salt residue off a boot with warm water dissolves the crystals, pushes the dissolved salts deeper into leather fibers and fabric weaves, and leaves a bigger white tide line once the boot dries. The salt does not leave. It redistributes.
Salt stains are not cosmetic. Left in place, the same chloride compounds used on roads and trails draw moisture out of leather, stiffen it, and accelerate cracking at flex points. On fabric panels, dried salt crystals abrade the weave from the inside. A $20 treatment done in spring prevents a $200 boot replacement by next winter.
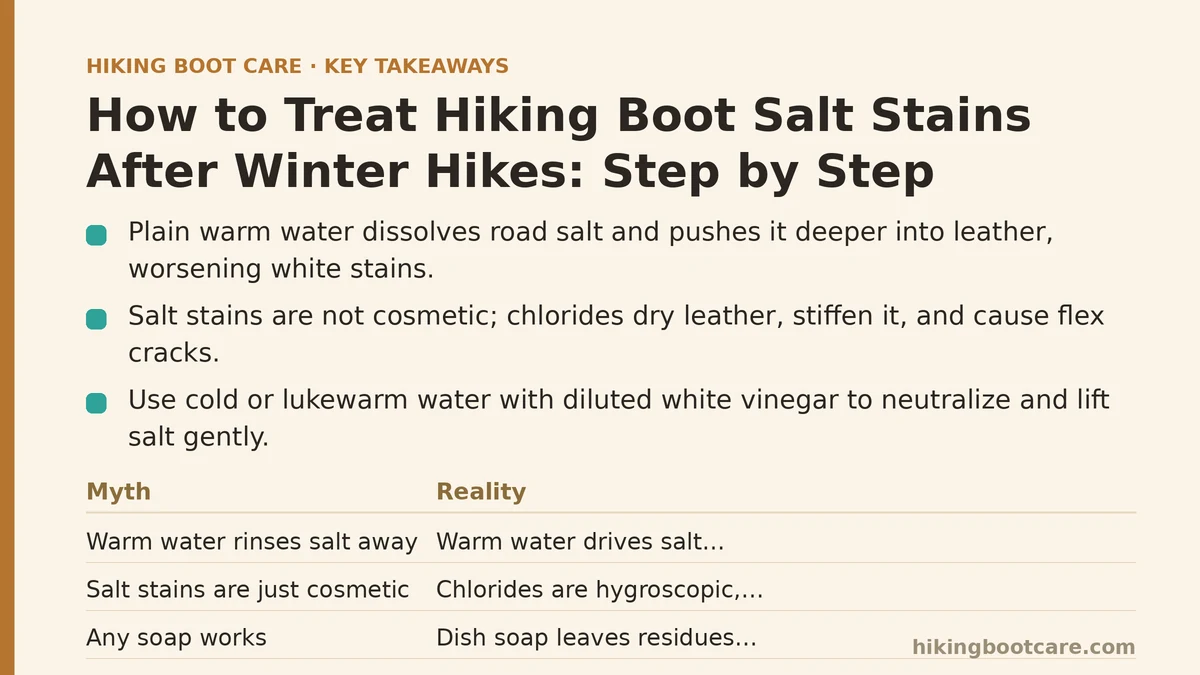
Myth vs. Reality: Salt Stain Removal
Most advice about salt stains repeats the same handful of claims. Some hold up. Others quietly damage boots.
| Myth | Reality |
|---|---|
| “Warm water rinses salt away.” | Warm water dissolves salt and drives it deeper into fibers. Cold or lukewarm water with a mild acid (vinegar) neutralizes and lifts it. |
| “Salt stains are just cosmetic.” | Chlorides are hygroscopic, pulling moisture from leather and leaving it brittle. Flex cracks follow within one season. |
| “Any soap works.” | Dish soap and detergents leave residues that repel future DWR treatments. pH-neutral cleaners or diluted vinegar are the safe option. |
| “One treatment fixes it for the season.” | Salt reappears with every exposure to treated roads and trails. Expect to repeat the process 2-3 times per winter in snowy regions. |
| “Vinegar damages leather.” | A 1:1 dilution of white vinegar and water is safe on full-grain leather when rinsed and conditioned afterward. Undiluted vinegar is not. |
| “Suede can be scrubbed like leather.” | Suede and nubuck require a dry brush and a suede-specific cleaner. Wet scrubbing mats the nap permanently. |
The pattern across every row is the same: aggressive treatment causes more damage than the salt itself. The goal is neutralization and gentle lifting, not scrubbing.
Why Salt Stains Show Up Where They Do
Salt residue concentrates in predictable zones. Knowing them speeds up inspection and prevents missed spots.
- Toe box and rand line — constant contact with slush and road spray.
- Heel counter — picks up salt when you step out of a vehicle or scrape against a snowbank.
- Seam lines — stitching wicks dissolved salt inward, where it dries into visible white crusts.
- Tongue folds — salt accumulates in the creases and presses against the lining.
If a boot was worn on salted sidewalks to reach a trailhead, the entire lower half of the upper is likely contaminated, not just the visible white patches.
The Step-by-Step Process
Step 1: Dry the Boots Completely
Salt crystals need to be dry before removal. If the boots are damp, let them air-dry at room temperature for 12-24 hours, away from radiators or direct sun. Heat sources warp leather and shrink fabric.
Stuff the boots loosely with crumpled newspaper or a dry cloth to absorb interior moisture. Do not force-dry with a hairdryer.
Step 2: Brush Off Loose Crystals
Use a soft-bristled brush or an old toothbrush. Work over a trash bin so the dislodged salt does not land back on the boot. Brush the entire upper, paying attention to seams, the rand, and the tongue folds.
This step removes 40-60% of the surface salt before any liquid touches the boot. Skipping it means the salt you brush off later has already dissolved into the material.
Step 3: Mix the Neutralizing Solution
Combine equal parts white vinegar and cool water in a spray bottle or bowl. A 1:1 ratio is the standard dilution. Stronger concentrations risk stripping leather oils and factory finishes.
For fabric-heavy synthetic boots, the same 1:1 mix works. For nubuck and suede, use a dedicated suede cleaner instead and skip the vinegar.
Step 4: Apply and Lift
Dampen a microfiber cloth with the solution. Do not soak the boot. Wipe the affected areas in one direction, turning the cloth to a clean section as it picks up salt. Rinse the cloth in clean water frequently.
Work in sections: toe box first, then heel, then seams. Do not scrub back and forth. The acid neutralizes the salt; the cloth lifts it; the cloth carries it away.
For stubborn white crusts on leather, let the vinegar solution sit for 30-60 seconds before wiping. Do not let it dry on the surface.
Step 5: Rinse with Cool Water
Wipe the entire boot with a clean, damp cloth using plain cool water. This removes vinegar residue and any remaining dissolved salt. Rinse the cloth two or three times during this pass.
Do not submerge leather boots in water. Surface wiping is sufficient and protects the internal structure.
Step 6: Air-Dry Away from Heat
Allow 12-24 hours of air-drying at room temperature. Stuff the boots with dry newspaper or cloth to hold shape and absorb interior moisture. Replace the stuffing at the 6-hour mark if it feels damp.
Step 7: Condition and Re-Proof
Once dry, the leather will feel slightly tight. This is expected. Apply a leather conditioner (for full-grain) or a nubuck/suede conditioning spray to restore suppleness. Let it absorb for an hour, wipe the excess.
The next day, apply a DWR treatment appropriate to the material. If you do not re-proof after salt removal, the next snowfall will re-stain the boot faster because the surface is now unprotected.
Material-by-Material Differences
Not every boot takes the same treatment. Use this as a decision map.
| Boot Material | Cleaner | Special Notes |
|---|---|---|
| Full-grain leather | 1:1 white vinegar + water | Condition afterward; vinegar strips surface oils |
| Nubuck / suede | Suede-specific cleaner, dry brush | Never use vinegar; it mats the nap permanently |
| Synthetic textile | 1:1 white vinegar + water, or pH-neutral gel | Rinse thoroughly to avoid residue buildup |
| Combination (leather + synthetic panels) | Treat each section separately | Match the cleaner to the panel, not the boot |
| Membrane-lined (Gore-Tex, eVent) | Same as upper material | Do not soak; membranes tolerate damp wiping, not immersion |
If You Already Made the Mistake
Two common recovery scenarios.
If you rinsed with warm water first: The salt has been pushed deeper. Rewet the boot surface with the 1:1 vinegar solution and let it sit for 60-90 seconds before wiping. You may need to repeat the process twice over two days.
If you scrubbed with dish soap: The residue will repel future DWR treatments. Wash the boot again with a pH-neutral cleaner, rinse thoroughly, and allow a full 24-hour dry before re-proofing. Skipping this step means the next waterproofing application will bead off without bonding.
Prevention for Next Winter
The most efficient salt-stain treatment is not needing one.
- Wipe boots with a damp cloth within 24 hours of any salted-road exposure.
- Apply a fresh DWR treatment at the start of every winter season.
- Keep a dedicated pair of “town” shoes for salt-covered sidewalks and change into boots at the trailhead.
- Store boots in a dry, room-temperature space — not a garage or shed where humidity swings.
The 30-Minute Salt Remediation Checklist
- Boots are fully dry before starting.
- Loose crystals brushed off over a bin.
- 1:1 white vinegar and cool water mixed.
- Microfiber cloth dampened, not soaked.
- Toe box, heel, seams, and tongue folds all wiped.
- Plain cool water rinse pass completed.
- 12-24 hour air-dry, away from heat.
- Leather conditioner applied (full-grain only).
- DWR treatment applied the following day.
Total active time is roughly 30 minutes across two sessions. Product cost, if you are starting from scratch, is under $30 for vinegar, a microfiber cloth, a conditioner, and a DWR treatment.
What to Do Next
Pull your winter boots out today and inspect for white residue, especially along seam lines and around the rand. If you find any, the fix is one vinegar wipe away. If the leather already feels stiff at flex points, move straight to conditioning after the salt removal — that stiffness is the early warning sign of cracking.
Salt stains are a maintenance task, not a permanent problem. Handled in spring, the same boots will be trail-ready next winter without a visible trace.
Not sure which material your boot uses, or seeing a stain that does not match the descriptions here? Describe it in the comments and you will get a recommendation based on the material and the stain pattern. Related guides: How to Waterproof Your Hiking Boots at Home: What Works, Your Pre-Season Hiking Boot Maintenance Checklist: What Experts Do, and Common Hiking Boot Care Mistakes to Avoid (According to What Fails).